Woodworking for Dilletantes
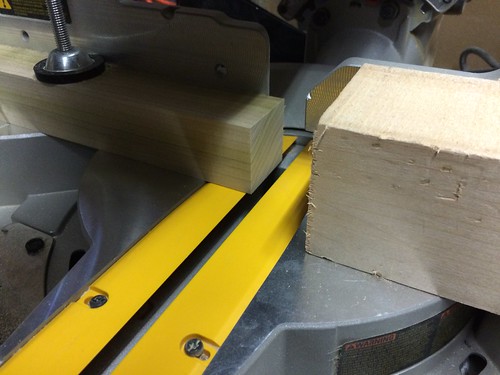
By day, I tell computers what to do. I like to think that I’m okay at doing that. On the weekend, I sometimes make radio things or build off-the-wall electronics projects at Resistor. I’m not quite as okay at that. It’s quite rare, though, that I make something tangible which has no physical function other than its own form. Long ago, I watched my grandfather build things out of wood: tables, benches, once even a dollhouse. Recently, my friends welcomed their son into the world, and as the holidays are approaching I thought a perfect gift would be a set of wooden blocks made by hand. I thought it would be a perfect opportunity to dabble in woodworking and create something completely non-electronic, non-code for a change. My first stop on my journey was to the wood scrap bin at Resistor, to see if I could find any material suitable for making blocks. The best I managed to scrounge up was a 2″x1″ length of pine which looked a bit worse for wear and probably not suitable for the final project. I suspect that it had been a cast-off chunk of baseboard earlier in its life. Nonetheless, just for practice, I put it into the miter saw to see what it would take to create consistent-size blocks. I rigged up another bit of scrap perpendicular fence to allow me to create 2x1x1 blocks without having to re-measure after every cut. I was careful to measure from the jig to the nearest side of the saw blade to account for the width of the blade itself. I learned four things from this: 1: clamp your cutting jig down hard, because otherwise it will wander about under the vibration of the saw, leading to odd-sized blocks; 2: Pine is way too soft for toys, so it dings easily. There’s no way it would survive a bite or two. 3: For the final piece, buy some quality lumber that isn’t warped, split, or nicked; 4: When cutting small things in a mitre saw, pull the trigger, wait for the blade to reach speed, make the cut, release the trigger, and then wait for the blade to stop spinning before returning it to the home position. Why, you ask? If the workpiece has moved even a tiny bit while the blade is in the ‘down’ position, as soon as the teeth touch the corner of the wood on the way up, it will fly off the surface of the saw, likely ruining the wood but almost certainly hitting you in the face on the way up (4a: Wear goggles. And earplugs.)
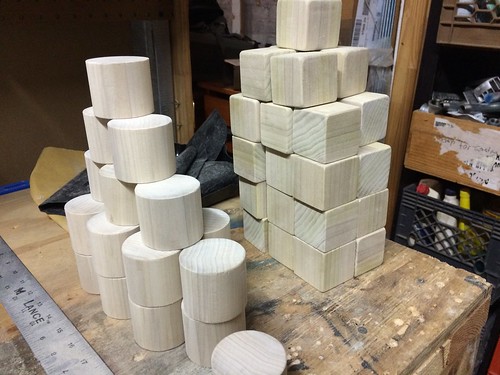
My experiment over, I picked up two pieces of dowel rod–one square, one round, made of maple. Why dowel? It’s already planed and sanded, quite precisely, down to the specified dimension, saving the trouble of having to do that myself. Since it’s meant to be used for table legs and the like, the wood stock is usually very straight, but be sure to look down its length to make sure you don’t buy a warped piece by accident. The square dowel was 1 3/4″ on each side, so I rigged up a similar jig as before, and used it for both square and round wood; I liked the idea of the resulting round pegs being the same height as the cuboid blocks so they could stack together neatly.
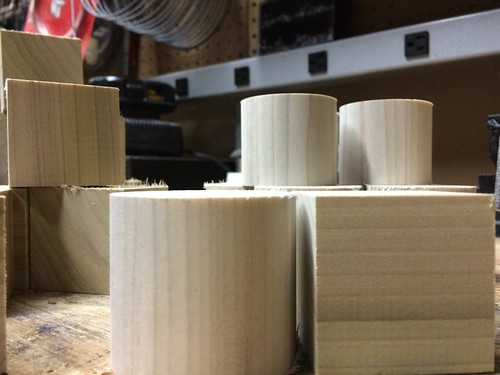
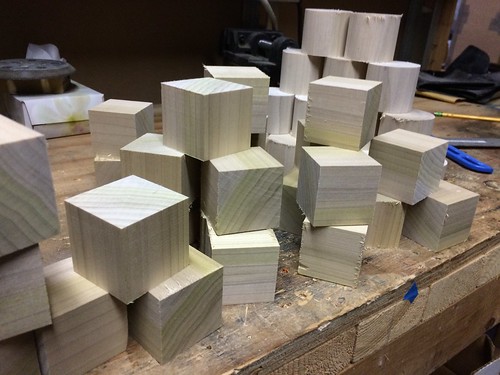
With the cutting done, it was obvious that I’d need to do plenty of sanding. Not only because the blocks had ugly burrs on them from the saw, but because they were sharp at the edges, and since I was going to give them to a very small child, I’d need to round off the corners. I experimented briefly with using an orbital sander to do this, but I found it was messy and inaccurate so I fell back to a good old sanding block and fine-ish grain sandpaper to ease the edges and smooth the faces of all the blocks. It would probably have been more efficient to round off the entire length of dowel at once, but I felt that I needed to control things at a smaller scale and allow for screwups along the way without ruining the entire length of wood if I made a mistake.

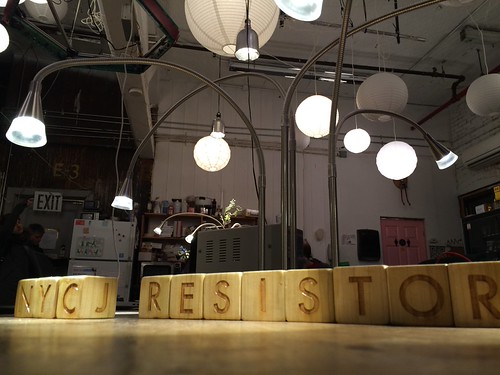
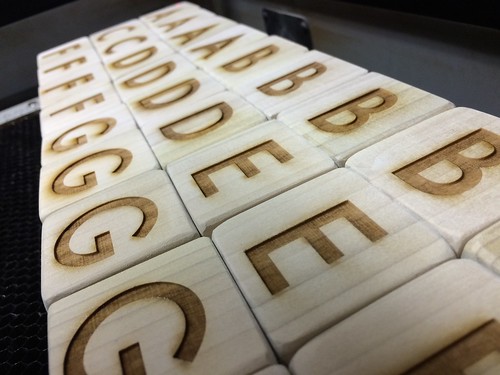
Once I had a good set of cubes and cylinders, sanded to the shape I wanted, it was time to etch the cubes. Fortunately, this is squarely in my comfort zone, having plenty of experience designing for, and operating, the laser at NYCR. I created vector artwork which would etch the entire set of blocks, once face at a time. When designing the artwork, I kept a few things in mind: The letters and numbers should have as much rotational symmetry as possible; should be as unambiguous as possible, and should scale up well. I ended up choosing Futura, because it fit those criteria as closely as possible. I also ended up adding numbers, a few punctuation marks and mathematics symbols like × and ÷. All in all, I had 29 blocks with 6 faces each (of course) so each letter and number from 0 to 9 appears four times, leaving space for other special characters.
After engraving, I sealed the whole set of blocks with two coats of clear polyurethane. I particularly wanted to seal the wood because since it’s quite light, I knew it would get dirty basically immediately, and if it was’t sealed it couldn’t be wiped clean. However, since I’m giving it to a very young child, the probability that these blocks are going to go into that child’s mouth is effectively 100%, and the finish is going in too. There’s a lot of FUD on the web about child-safe wood finishes. I spent at least a couple of hours researching the subject and came away with a great deal of conflicting information. After some consideration I ended up going with water-based urethane, which Wikipedia says is “safer than oil based,” and since the solvent is evaporating, I felt pretty good, since polyurethane itself is chemically inert. I’m sure beeswax finishes look lovely, but they’re going to rub off and my friends aren’t going to want to bother re-painting the blocks. I encourage you to do your own research, though. You might have better sources than I do. 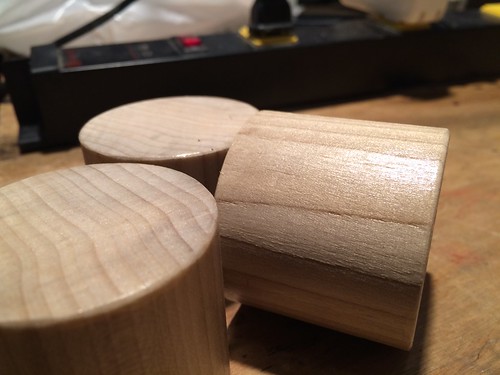
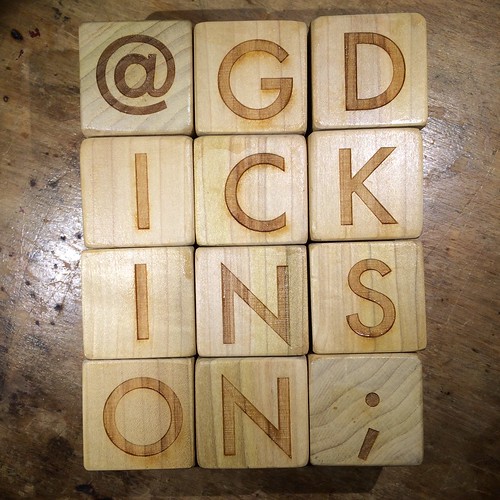
With everything cured and dried, it was time to present them–I hope they’ll be a fun toy for years to come!
Very cool – and satisfying!