What was once cancelled is now uncancelled! Craft night for tomorrow, 12/26/13, is back on. Feel free to show up with your eggnog hangovers!
Craft Night Reinstated This Thursday, 12/26!
Uncategorized
No Responses »
Dec 232013
What was once cancelled is now uncancelled! Craft night for tomorrow, 12/26/13, is back on. Feel free to show up with your eggnog hangovers!

Bring your cash and your curiosity to our FIRST EVER HOLIDAY CRAFT FAIR December 15, from 12-6pm. We’ll offer a free soldering workshop that day as well as host a number of makers in our area who’ll be selling their items. Also for our first 100 visitors, a free NYC Resistor holiday ornament!
Anyone from the community also interested in selling at the event is welcome to email us for an open spot while they last at [email protected].
![]()
Next weekend at NYC Resistor we are teaching a class on the Adafruit FLORA and Neopixel. These round Arduino compatible controller boards are a great base for wearable projects like watches, jackets and neck ties, as well as holiday decorations. Bring your laptop and we’ll teach you to make the LED ring blink with patterns of your own design. No prior programming required. The class fee includes a FLORA board, batteries, cabling, 4 RGB LED pixels and a 16 RGB LED ring.
In a show of solidarity with our oppressed Meleagris gallopavo brethren, there will be no craft night this Thursday, November 28th. We recommend gathering together with friends and loved ones and sharing a hearty seasonal meal of kale and pine nuts instead. See you all next week!
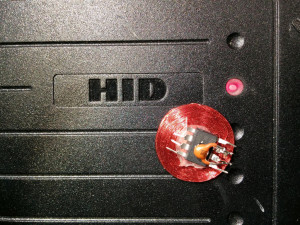
Last year we wrote about building HID Proxcard RFID tags with attiny85 microcontrollers (based on Micah’s avrfid.s code). The C version only supported classic 26-bit cards, but I recently needed to support the “secure” HID Corporate 1000 35-bit format.
Based on Daniel Smith’s writeup on the format and some digging around, I figured out that the MFG_CODE for this format is 10-bits long with the value 0x005. He also pointed out that the 26-bit firmware had the wrong code — it is not the 20-bit code 0x01002, but is instead the 19-bit code 0x0801 and the bottom bit is part of the parity computation for the card id. If you’re using a HID branded Proxcard reader, the value that it outputs is the entire data portion, including all of the parity bits, but does not include the MFC_CODE part. If anyone knows of a table of these codes, please let me know!
I’ve updated my firmware with these changes and it works great. Emulating a 35-bit card takes 846 bytes of flash (nine more than the 26-bit cards since the state machine stores one bit per byte), so it might be possible to port this to the attiny10. I’ve also found that the tags work much better with a small capacitor across the two clock pins, as shown in the above photo.

Just a reminder, no laser night tonight. You’re welcome to come by and hack instead! The laser is down but should be repaired by Tuesday!
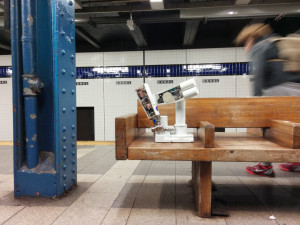
The PUMA 260 robot arm that was hanging around NYC Resistor was seen heading into Manhattan on the subway.

I’d like to share a neat Eagle hack for all our the people who have taken our Eagle CAD classes (myself included) and our Eagle-using friends.
BOM-EX is nifty little ULP (User Language Program) that extends the functionality of the built-in BOM ULP. BOM-EX not only helps you assemble a coherent BOM (Bill of Materials) right from your Eagle schematic, but it also makes it easy to assemble a database of parts, and associate those parts with parts numbers for DigiKey, Mouser, Newark, etc.
I made a nice little script that lets me build my BOM database without ever leaving the DigiKey website…
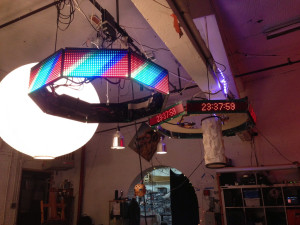
Hexascroller has been a central fixture at NYCR for the past few years, with a few ups and downs. It’s replacement, Octoscroller, improves on our classic message alert polygon by having two more sides and two more colors of LEDs.
https://vine.co/v/h17j6QuqXxP
The userspace application renders images into a shared memory frame buffer, or in this case receives UDP packets containing video images from the Disorient Pyramid transmitter. The PWM algorithm can do between eight and sixteen levels of brightness for each color, producing approximately 12-bit color.
See it in person at MakerFaire in NYC this year and read on for details of how to wire up a driver for the panels, as well as a walkthrough of some of the PRU code.
Continue reading »
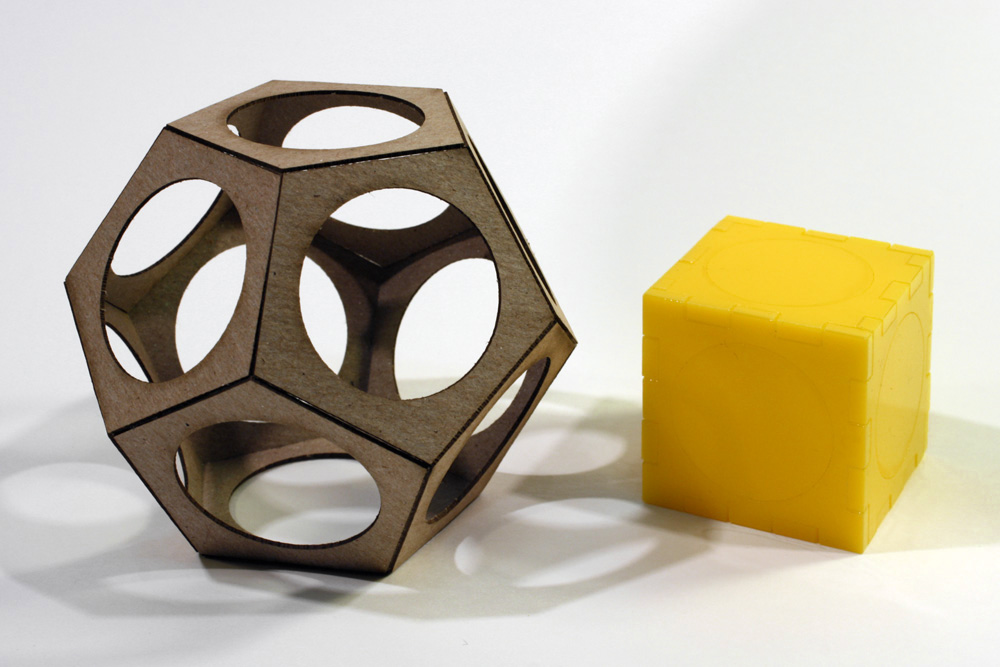
We always have inspirational people and projects come through our classes. Here are a few photos of first-time cuts from students who participated in the laser class on Saturday.