A new fiber arts tool has made its way to the resistor shelves: the electric tufting tool. Made more widely available by designers such as Tim Eads of Tuftinggun.com, the tufting tool speeds up the process of traditional rug making which includes needle punching, latch hooking, and hand-knotted weaving.
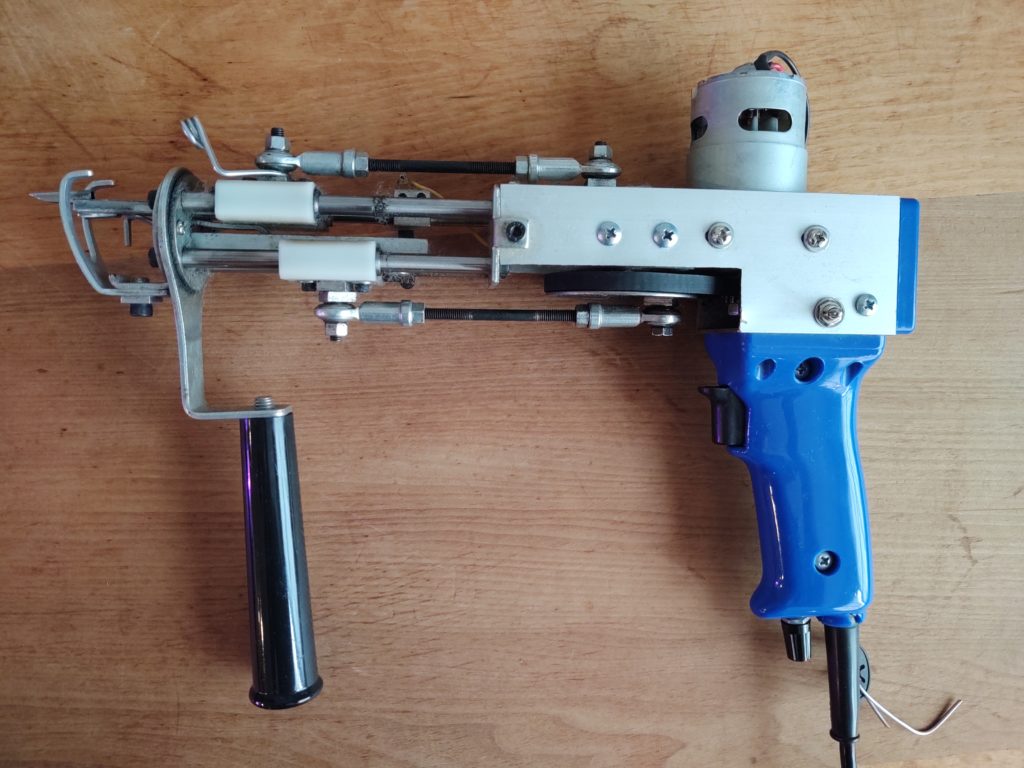
The loop pile tufting gun produced by www.tuftinggun.com. Their website and instructional videos are highly suggested for getting started, troubleshooting, and adjusting the tool.
Overview of Rug Making Processes
Rug weaving combines traditional weaving practices with hand-knotting yarn, forming individual tufts between a warp and weft weaving structure. Out of all of the methods, this is the most traditional, time consuming, labor intensive, and gives the most control over the final outcome.
Needle punching, self describing in name, utilizes a hollow needle through which yarn is pushed through a taught open-weave fabric. The trick lies in not pulling out your last loop as you draw the needle along the fabric surface to make your next loop. The length of the hollow needle on the tool determines half of the length of the loop, with some versions of the tool being adjustable.
Latch hooking is the needle punch’s opposite. A hook is drawn through an open grid fabric to yarn awaiting in the users hand, using the hook to knot the yarn in half, onto itself.
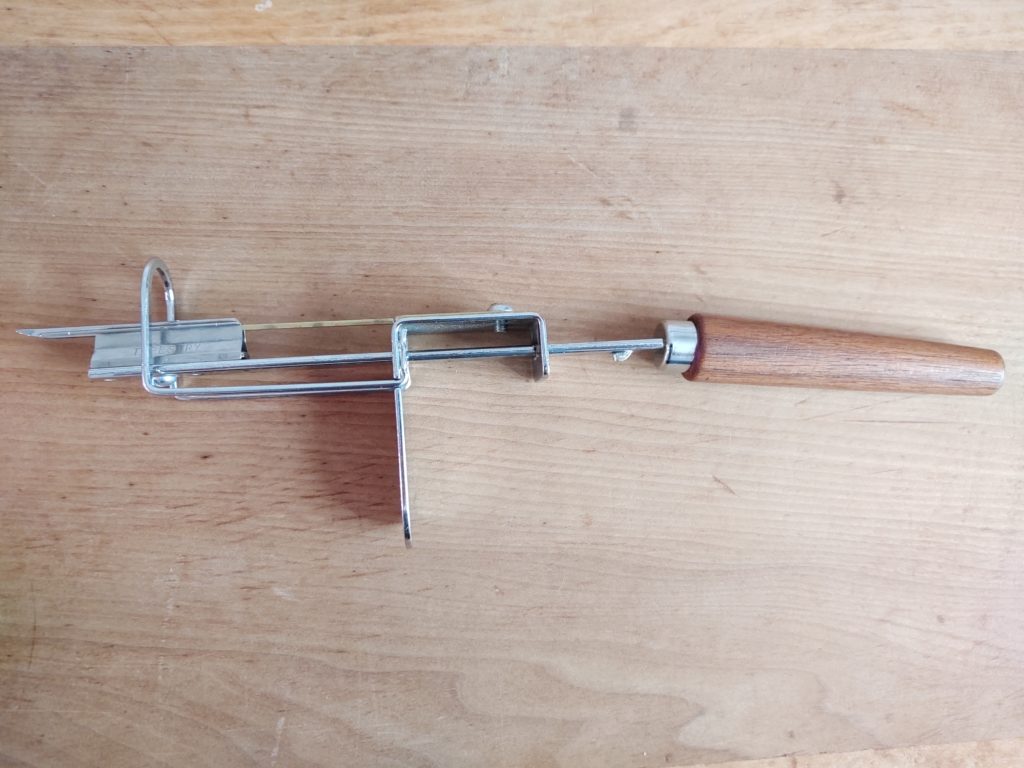
This is the “speed tufting tool” by Rug Crafters that I found in used-tools area of a yarn supply store in Oregon. One pushes and pulls the slide by hand, the presser foot helping the tool crawl forward while maintaining pressure on the backing fabric. There are many variations of this tool, vintage and modern. Check out Lindsay Gruetzmacher’s new illustrated poster of tufting tools here < www.illustratedgoods.com >.
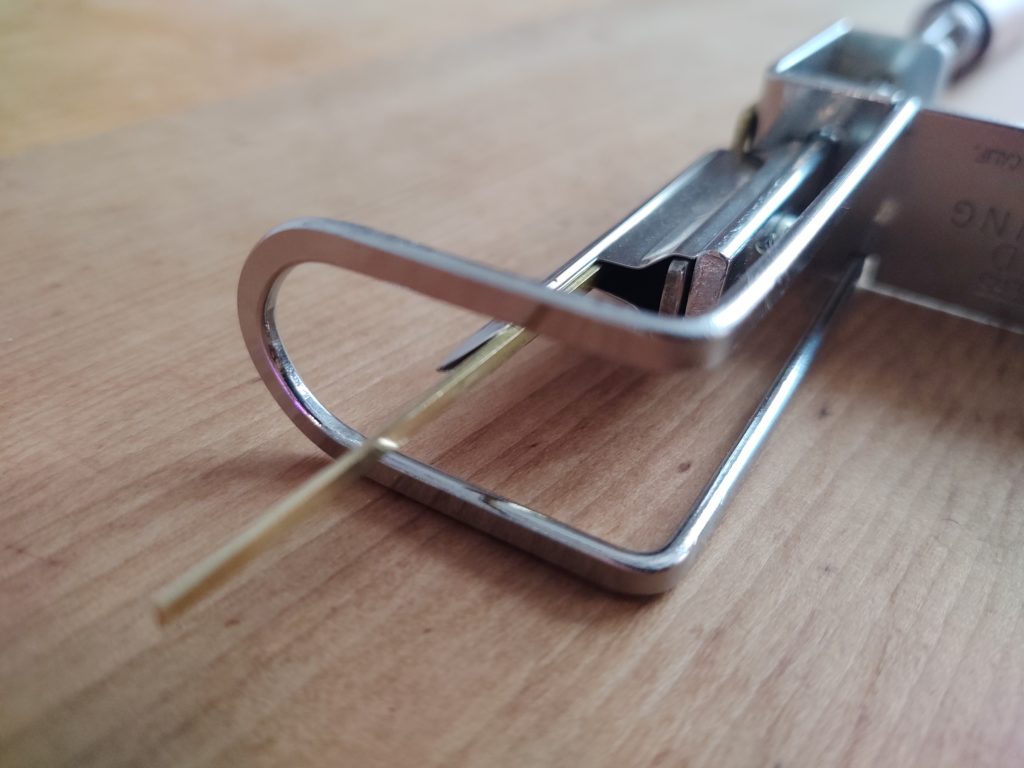
Tufting is much like the needle punch, using a hollow needle for the yarn to feed through. With the needle through the fabric, a metal tong on a sliding bar pushes the yarn though the backing cloth. As the yarn forms a loop, a presser foot lifts the needle off of the fabric. The next ‘punch’ into the fabric is slightly forward, letting the tool walk itself along as you push the slide in and out, drawing a loop-trail of yarn. The electric tufting tool puts that motion on a motor, turning the shaft with a press of a button, the tong pushing the yarn through the fabric then alternating with the slanted needle, several times per second. Adjustments on the electric tool can change the speed and length of the tuft, while other configurations of the tool can cut each loop of yarn as it is pushed through, making a shag rug effect. More industrial versions of the tool are fed by an air compressor, allowing for longer loops and tufts. The downside to the air compressor version is that the tool is louder, heavier, and more expensive.
Other Supplies
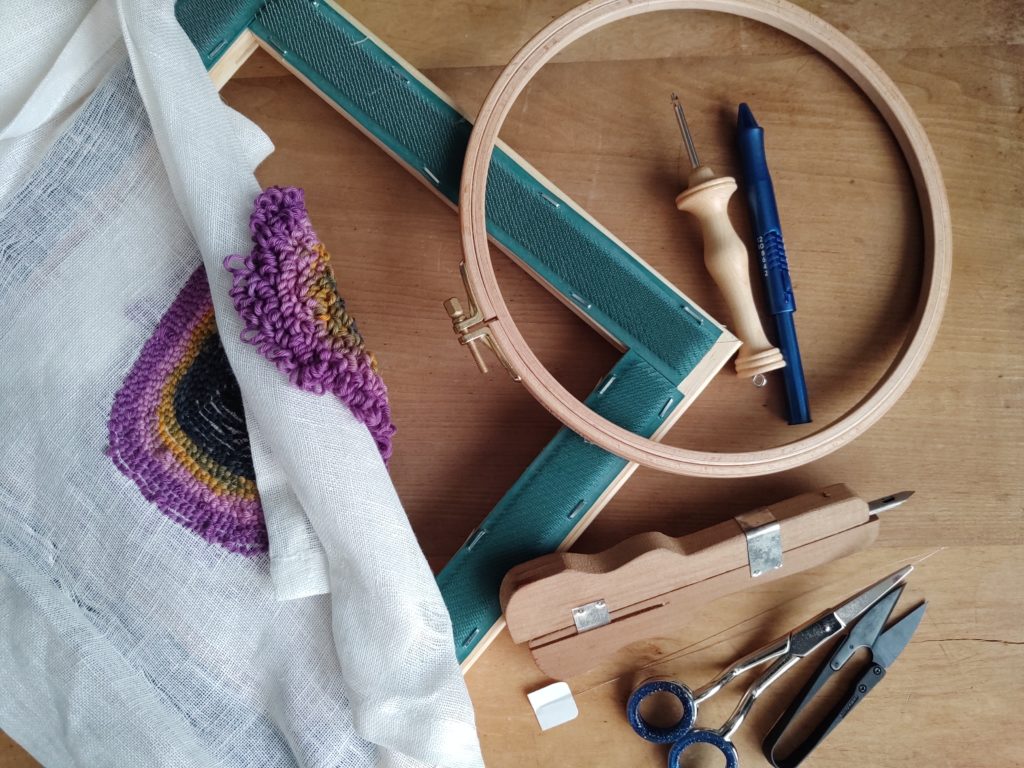
An integral part of rug tufting is having a frame to work upon. With smaller needle punch tools like the Oxford Punch needle or the Ultra Punch embroidery needle, a simple embroidery hoop can be used to stretch the fabric tight. You can make your own frame by gluing or stapling the fabric directly to an empty picture frame. The picture below shows a frame with ‘gripper strips’ that use tiny bent wires to cling onto the fabric. These I had purchased from Howard Brush, which specialise in the wire combs and brushes used for processing wool. (I found this set of gripper strips on their Etsy outlet store, where they sell their factory seconds.) Tabletop or “lap” stands are designed to pair with the needle-punch process, allowing the frame to float off of the table, giving the needle space to ‘punch.’
The thickness of yarn depends on the project. The electric tufting tool can take multiple strands of yarn as long as it can fit through the hollow needle. Types of yarn is something that you can experiment and play with, providing different textures or patterns. Regardless of the type of yarn, it helps to have it fed through a tensioning wire (or hook) up and to the side of your working area so the yarn feeds into the tool freely. Note that a crochet hook (or a bent paper-clip) is needed to load the yarn into the electric tufter and you should always have the power off when you do so.
Monk’s cloth or basket weave fabric is suggested for the electric tufting tool. The same fabric might too loosely woven to catch the loops of a smaller, hand-punch needle. Tightly woven fabric is not forgiving enough to hold the loop in place and could shred or warp with the repeated ‘punch’ of the needle. The monk’s cloth can be found on Amazon or through Tuftinggun.com.
Tufting at Resistor
The tufting frame can take on a variety of sizes, from table top to whole walls. The one at Resistor can be clamped to a regular folding table or the end of the main table. A yard length of monk’s cloth can fit onto the frame, leaving space around the edge for the tacks to hold the fabric taut. The carpet tacks are sharp! Like the gripping strips in the previous photo, these are exposed tacks that allow you to stretch and adjust the fabric. The styrofoam blocks protect from the carpet tacks but also get in the way of turning the tufting tool freely. For the your safety and of others in the space, use the styrofoam on areas you are not working next to and always replace them for storage.
Fabric stretched and styrofoam over the carpet tacks. Draw a line two inches from the interior boarder of the frame to delineate your working area 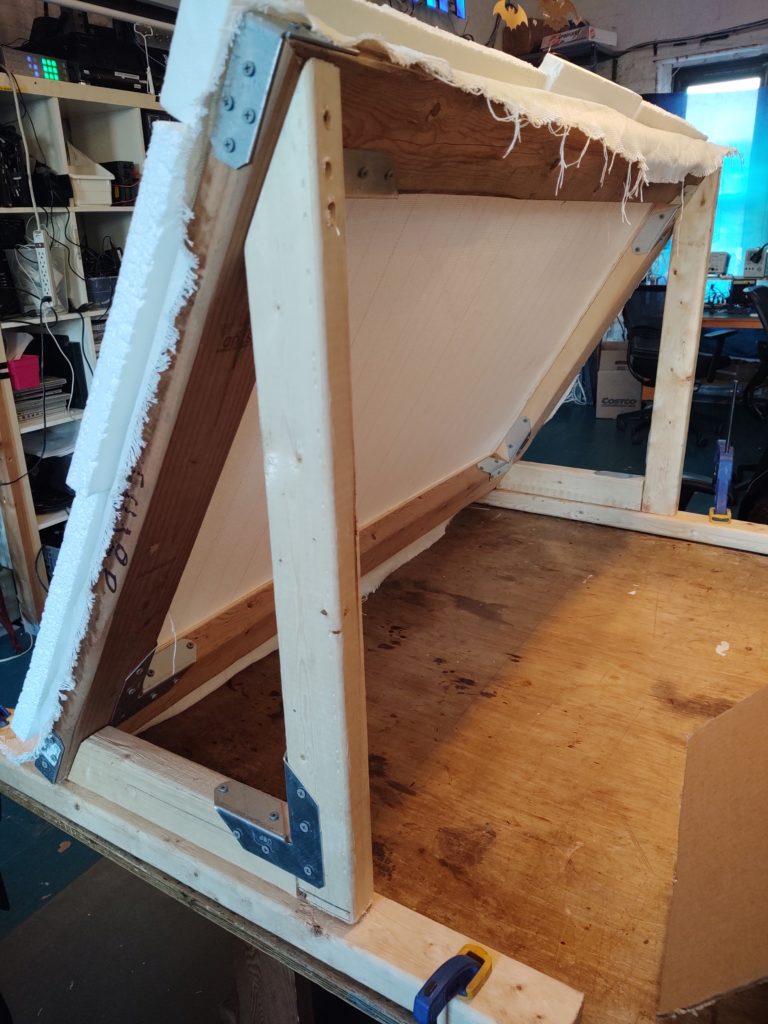
Use clamps from Tool Town to secure the frame to the table.
Tips on Process
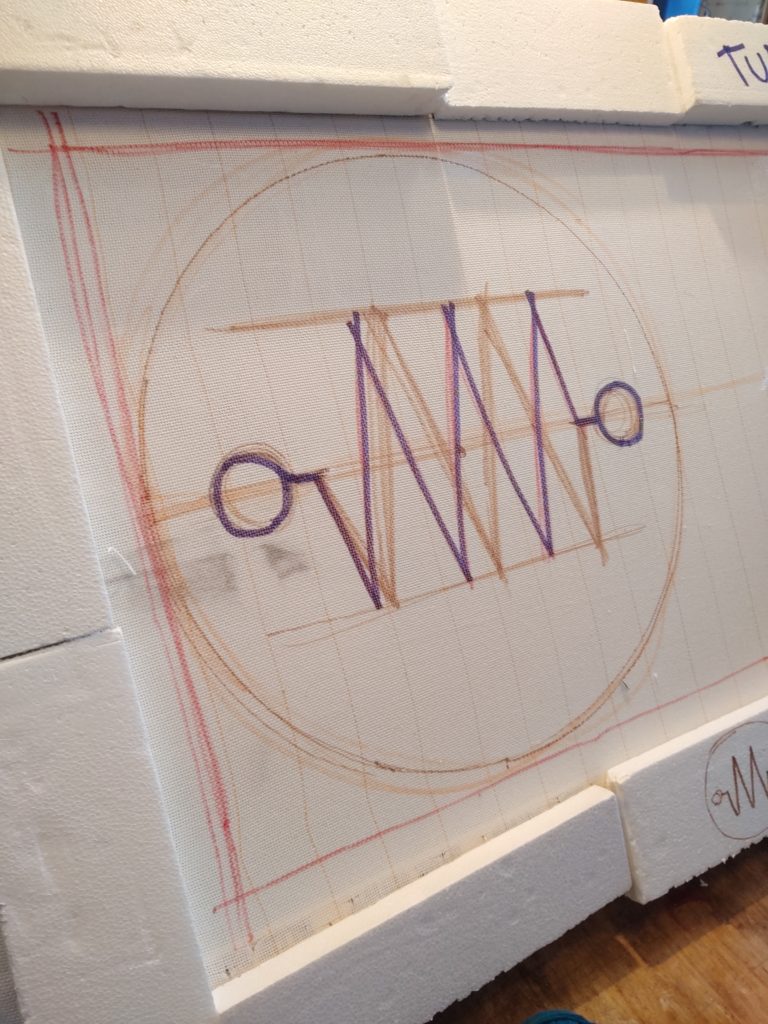
When starting a project, I suggest drawing a border about 2 inches in from the inner edge of the frame to mark off your working area. Consistent pressure must be applied with the tufting tool so it is not suggested to work right to the edge of the frame.
Draw out your idea before setting yarn to the frame and plan out your colors. I usually use sharpie to set out my pattern, filling in color with chalk or fabric-safe markers. (Chalk makes a lot of dust while you tuft but good to visualize color.) Remember that you are working on the backside of the project so images and text will be flipped.
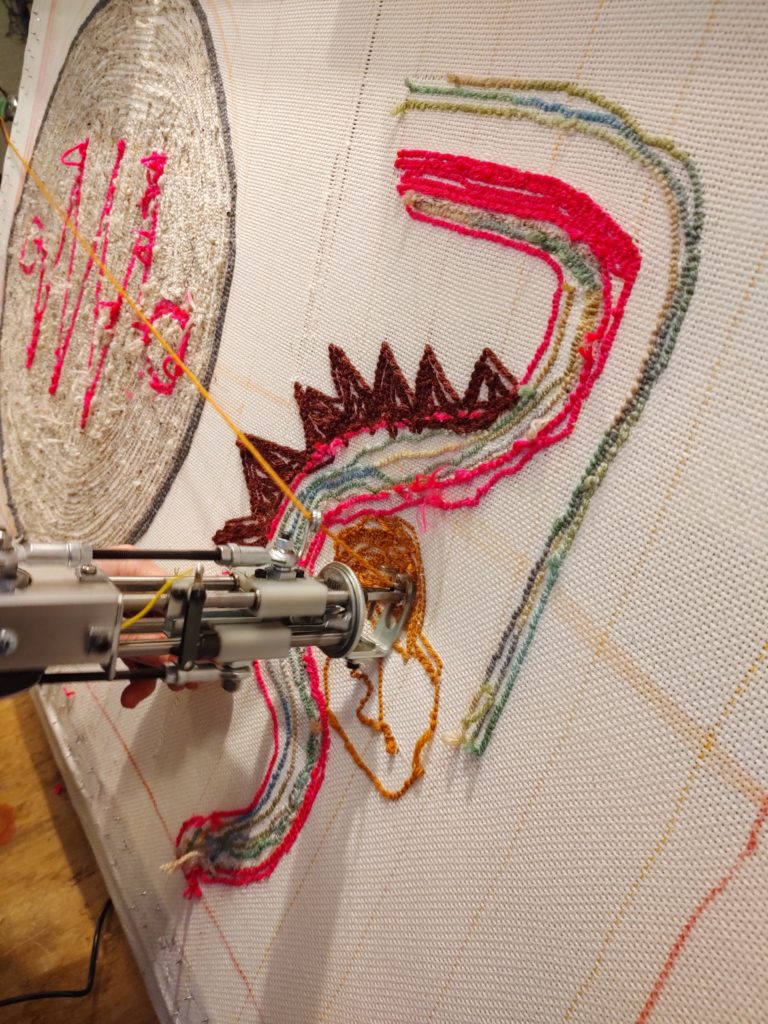
Strands of yarn can be pulled out if you want to redo a line or don’t like a color. If the lines of loops overlap one another too much, you could accidentally pull out more yarn that you intended. For the same reason, trim down any loose yarn ends or loops that the presser foot might snag and pull out unintentionally. The process uses a lot of yarn. How much yarn depends on how long your loops are and how dense you are filling it in.
Glue Up and Finishing
There are a lot of suggestions available for finishing your tufted project. A common agreement is to glue the back (your working side) to prevent the loops from pulling out. Glue up should be done while the project is still stretched on the frame to prevent the edges of the project from curling up onto itself. Elmers or wood glue can be used if the piece is going to be a wall-hanging and doesn’t need to remain flexible. Carpet glue found at the hardware store stays flexible but also tacky: making it a requirement to adhere another cloth to the back and impossible to sew after it is glued. Latex glue was suggested to me by another tufter, Trish Andersen (< www.trishandersenstudio.com > Her work was recently featured in DesignMiami!) The glue can be brushed on, making sure you cover all of the fibers and a border around the project to prevent the ends from fraying. The latex glue is expensive, smells offensive, and certain brands take longer to dry. Personal protective equipment and good ventilation is required at this stage. (Latex glue suggestion: North Carolina Carpet Supply is somewhat cheaper than other brands and is quick to dry.)
Hand-Stitched Edge/ whip-stitch 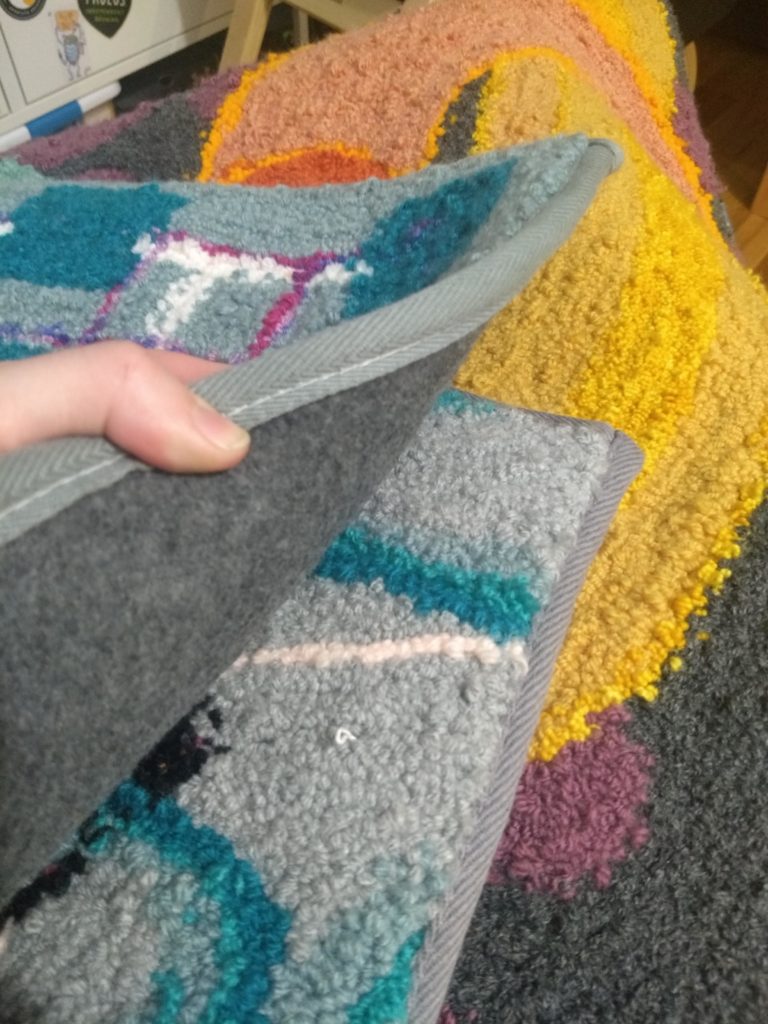
Bias tape edge by
Better Carpet Warehouse in Brooklyn.
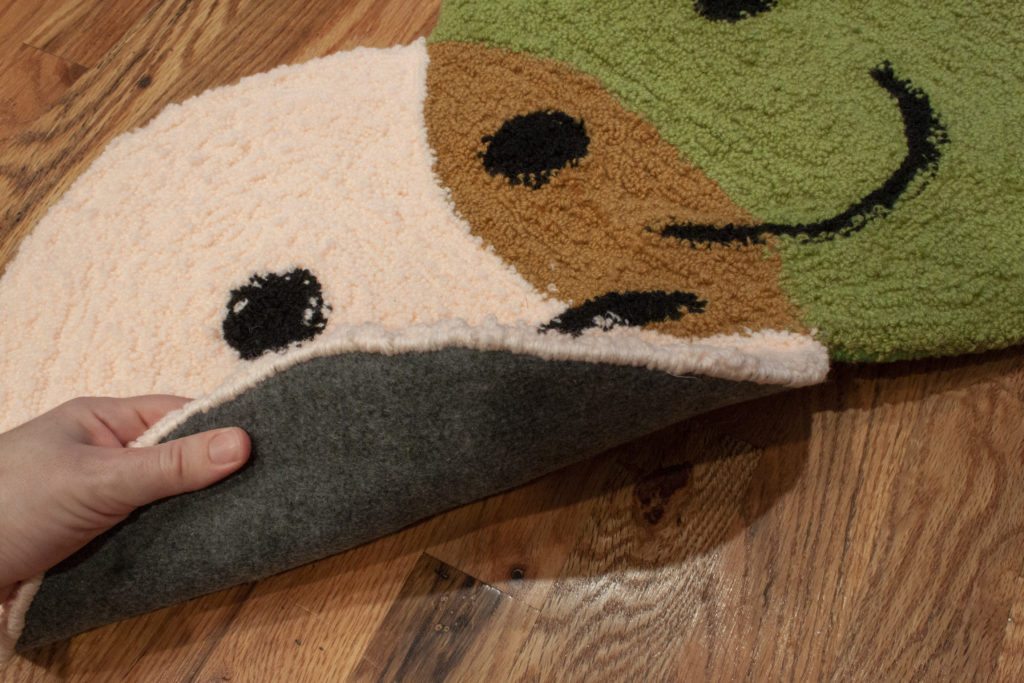
Once the latex is cured, I use a spray “web” glue (professional grade but no particular brand suggested) to attach a felt backing fabric. Binding the edges of the rug can be a very time consuming process, especially hand sewing (whip-stitch, shown above.) Carpet repair stores will sometimes have an edge binding service with options including a whip stitch edge or bias tape. The edge on the small rugs pictured above was done by Better Carpet Warehouse in Brooklyn. Alternative methods to finishing the edge and combining other fiber rug-making methods are exemplified by Ugly Rugly ( https://www.uglyrugly.com/ ). They zigzag stitch spiraling rope together to form a rug or basket structure. The method can be done with a heavy duty sewing machine or methods of crochet.
For other 3-d and soft sculpture forms, check out the work of Dee Clements with Studio Herron ( https://studioherron.com/ ). And the show Tuft, curated by Tim Eads at Group Projects PHL (https://www.groupprojectsphl.com/)
Suggested links
The electric tufting tool www.Tuftinggun.com
The Oxford Punch Needle https://amyoxford.com/
Ultra Punch Needle https://www.ultrapunchneedle.com/
Howard Brush http://www.howardbrush.com
Trish Andersen www.trishandersenstudio.com
North Carolina Carpet Supply http://www.n-ccarpet.com/index.php?route=product/product&product_id=514
Ugly Rugly https://www.uglyrugly.com/
Dee Clements with Studio Herron https://studioherron.com/
Tuft, curated by Tim Eads at Group Projects PHL https://www.groupprojectsphl.com/
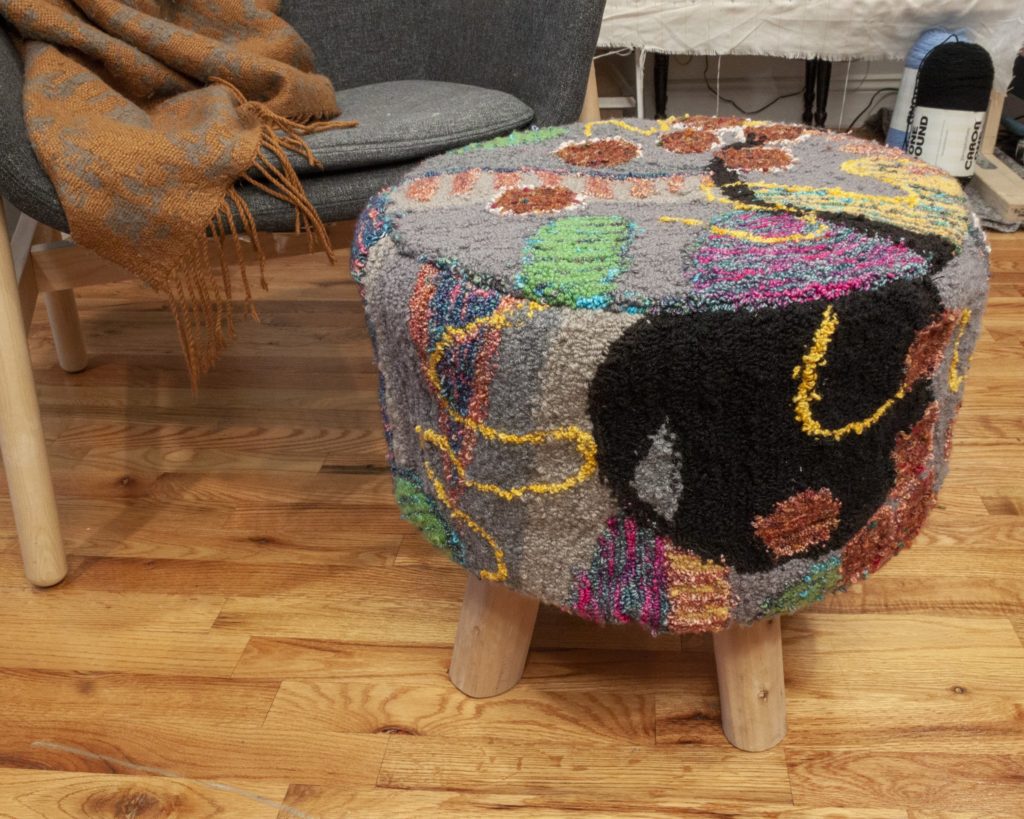
An Upcycled stool. 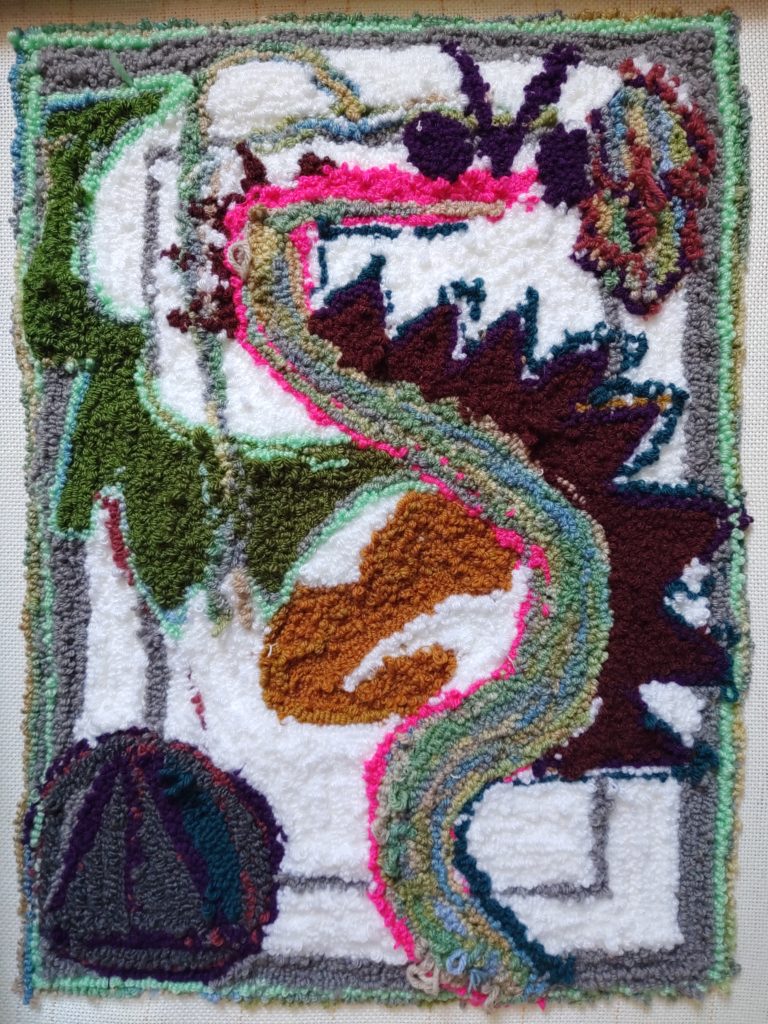
Result from a ‘free draw’ session and demo during Open Craft Night at Resistor. This drawing features early 2000’s meme Trogdor the Burninator, a ‘cool S’ and Harry Potter’s Deathly Hallows symbol.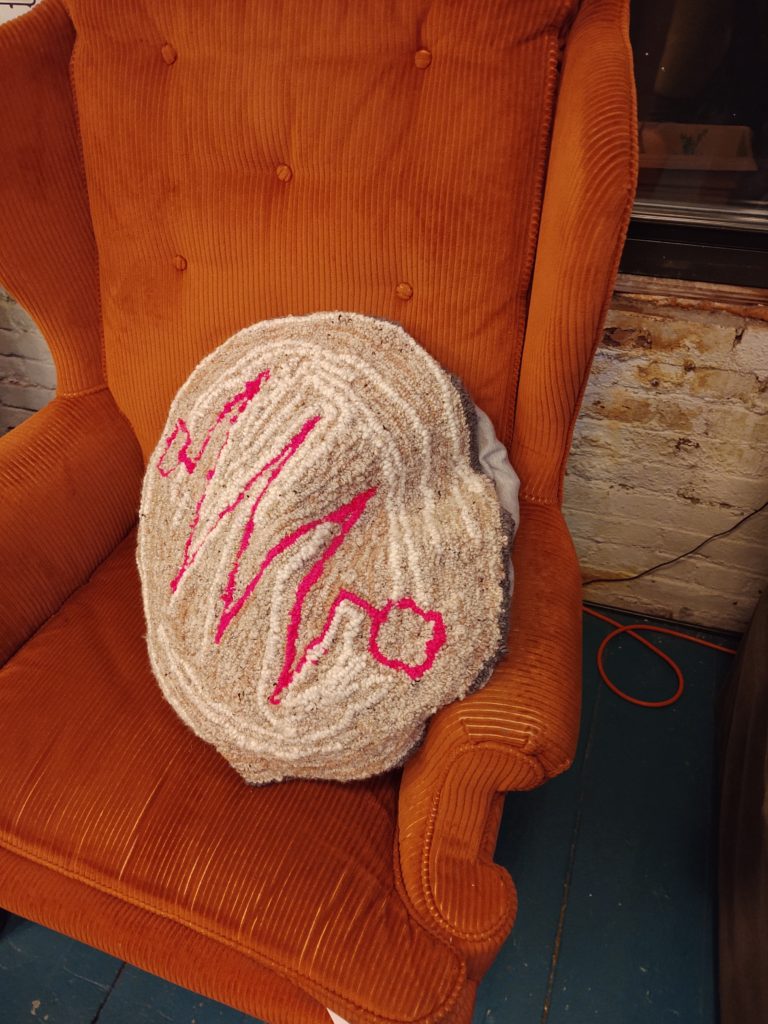
The Resistor logo in pillow form.
Article written by Kayla Thompson
January Artist in Resident at Resistor
Kayla Thompson is an artist blending ideas of design and function with sculpture processes, challenging design norms and object interaction. Thompson is currently based out of Brooklyn, New York.