Reviving the Apple 410 Color Plotter
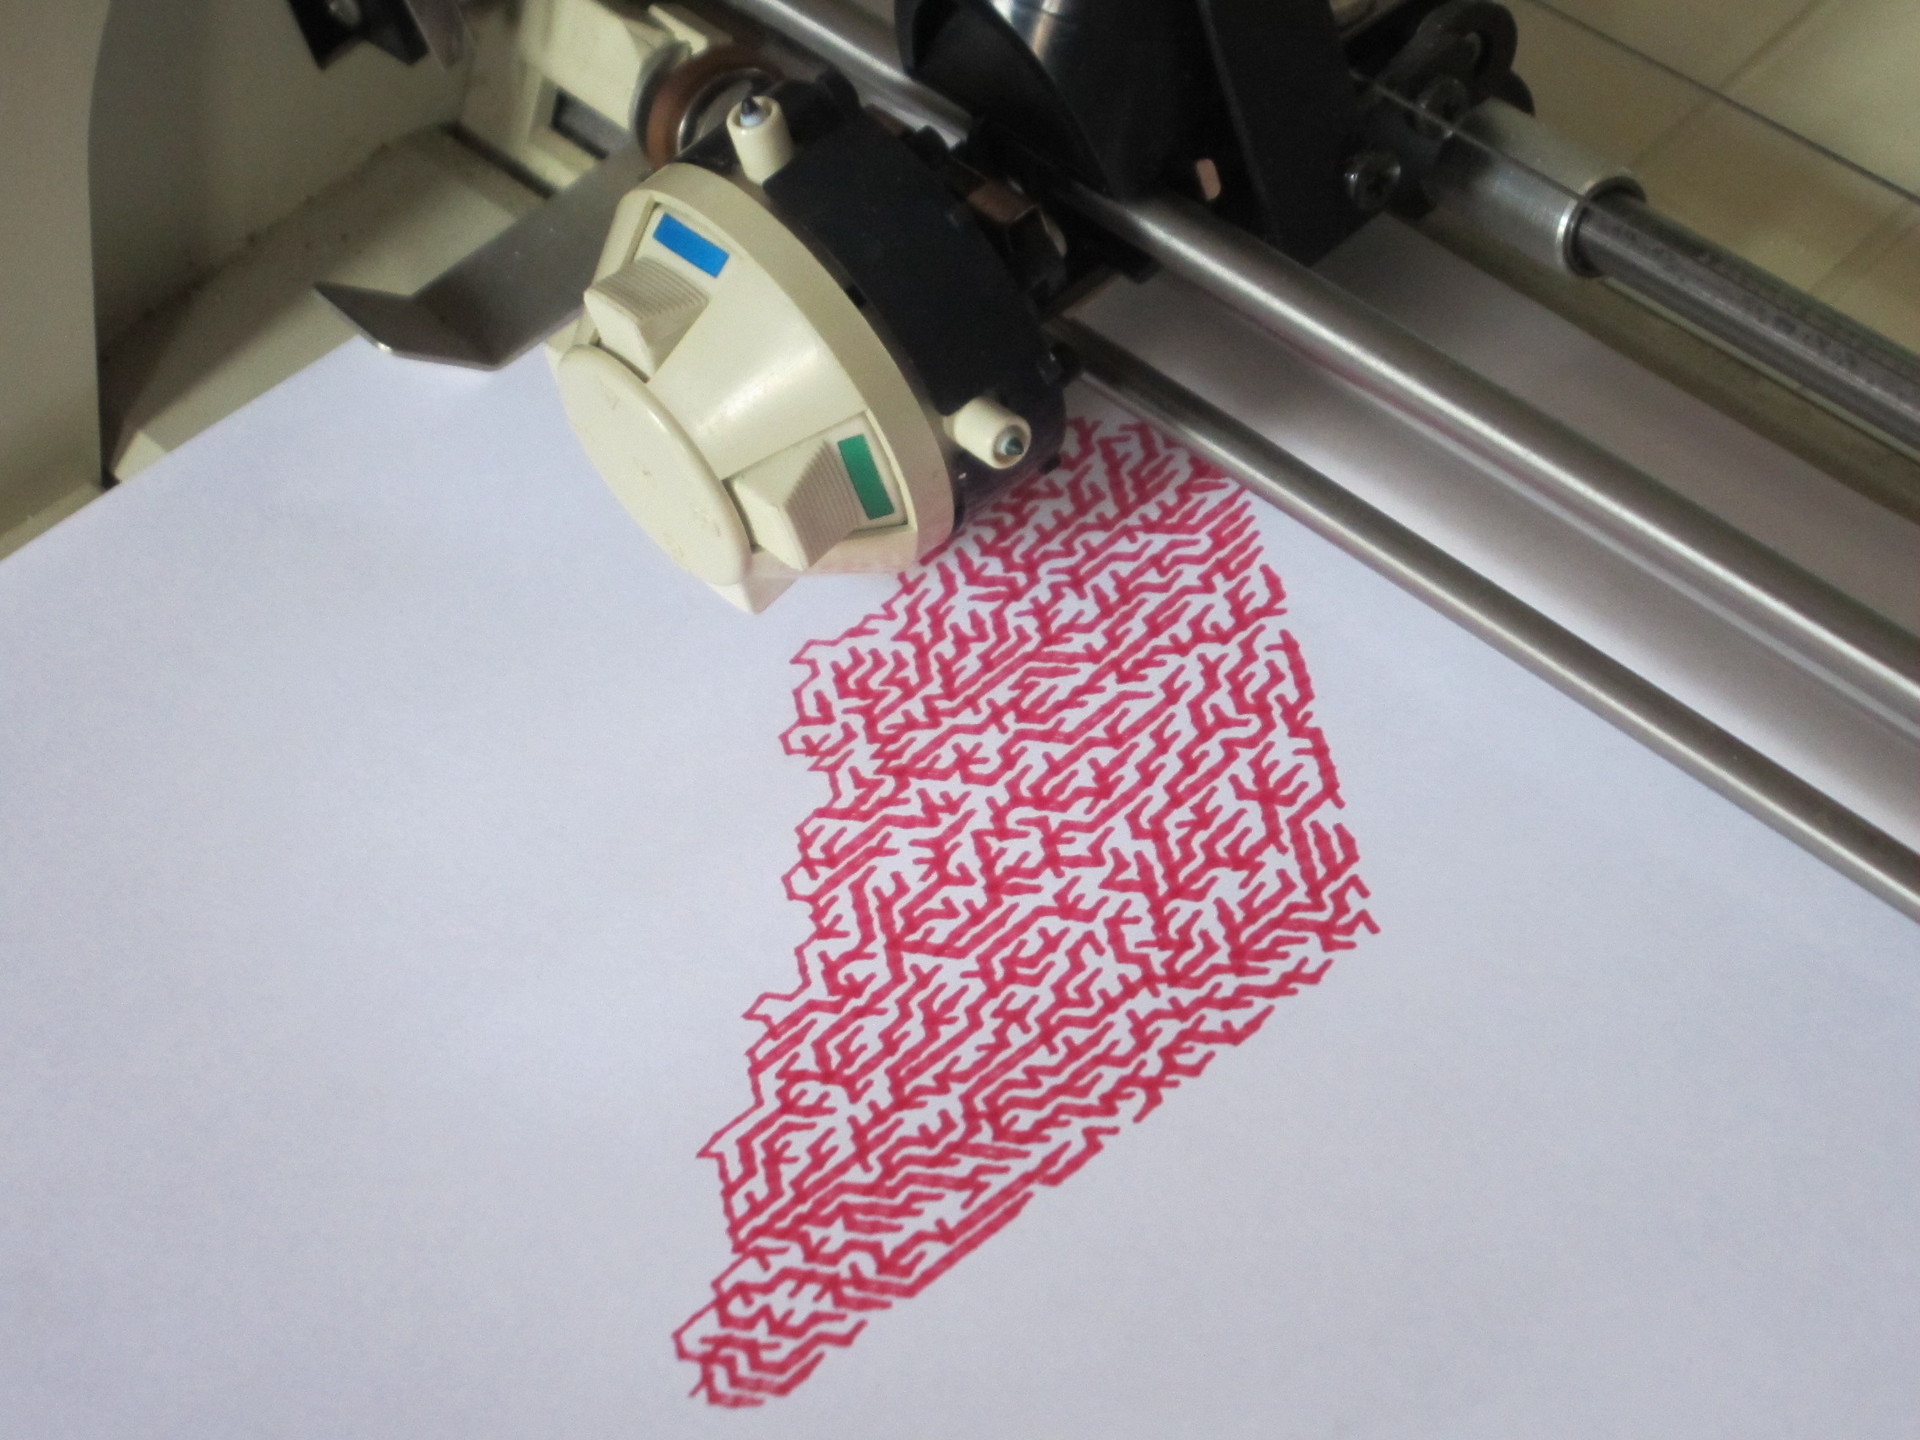
After seeing some of the jaw-dropping and inspiring plotter art that’s been popping up on #plottertwitter this year, I decided to get in on the fun. We don’t have an Axidraw or other modern plotting device handy, but I did have a hazy memory of someone donating a sweet large-format HP plotter of some sort to NYCR a few years back. Armed with a ladder and flashlight, I scoured the loft for a bit and eventually emerged filthy but sort of victorious, with this:
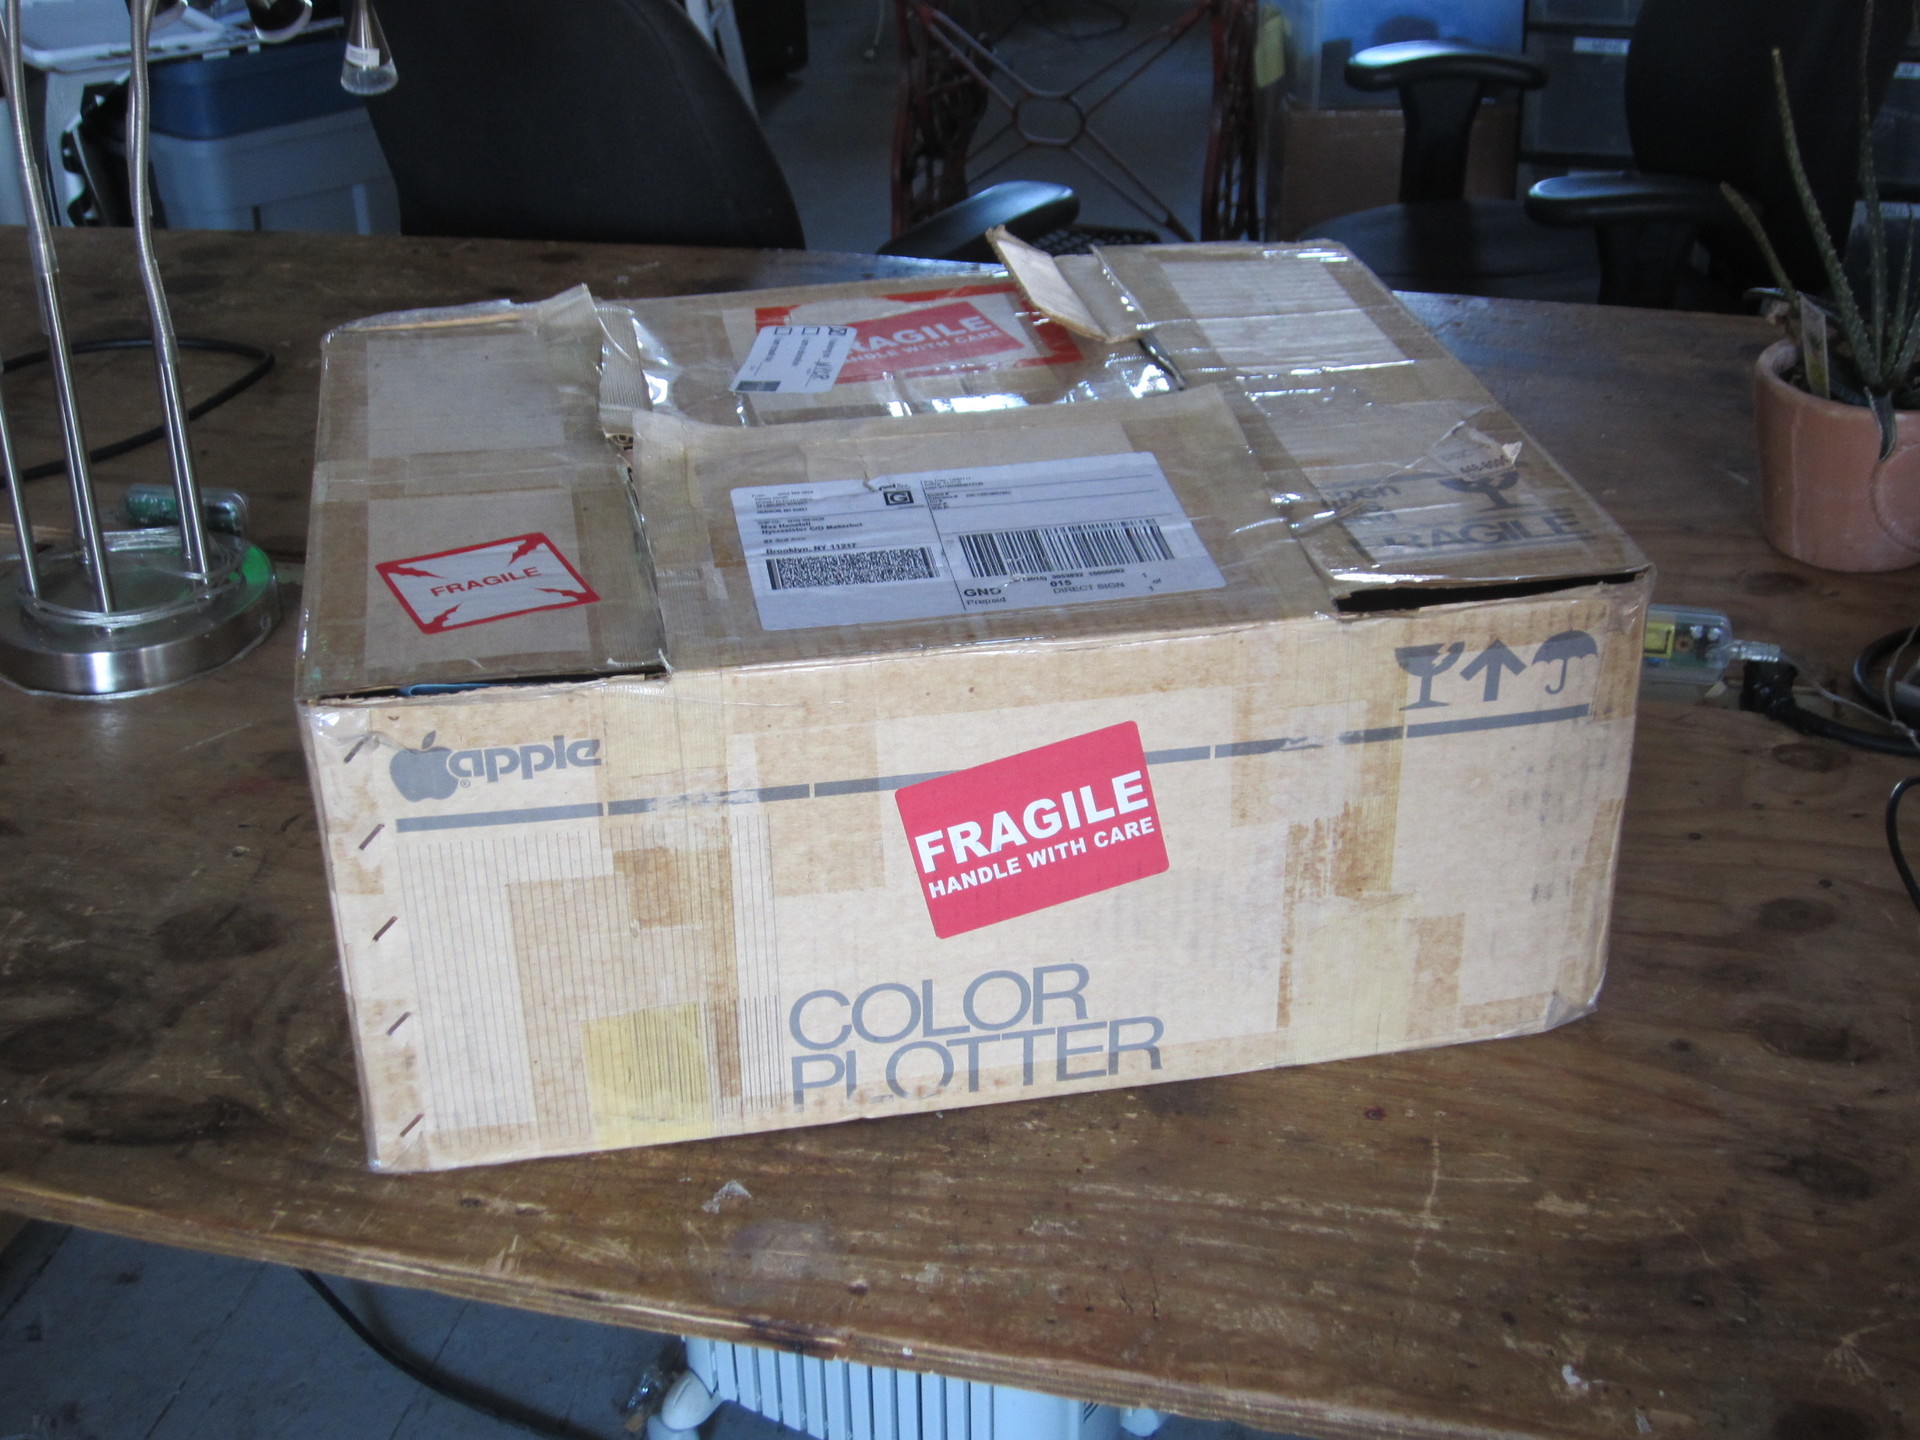
Spoiler alert: this is not going to be a sweet large-format HP plotter
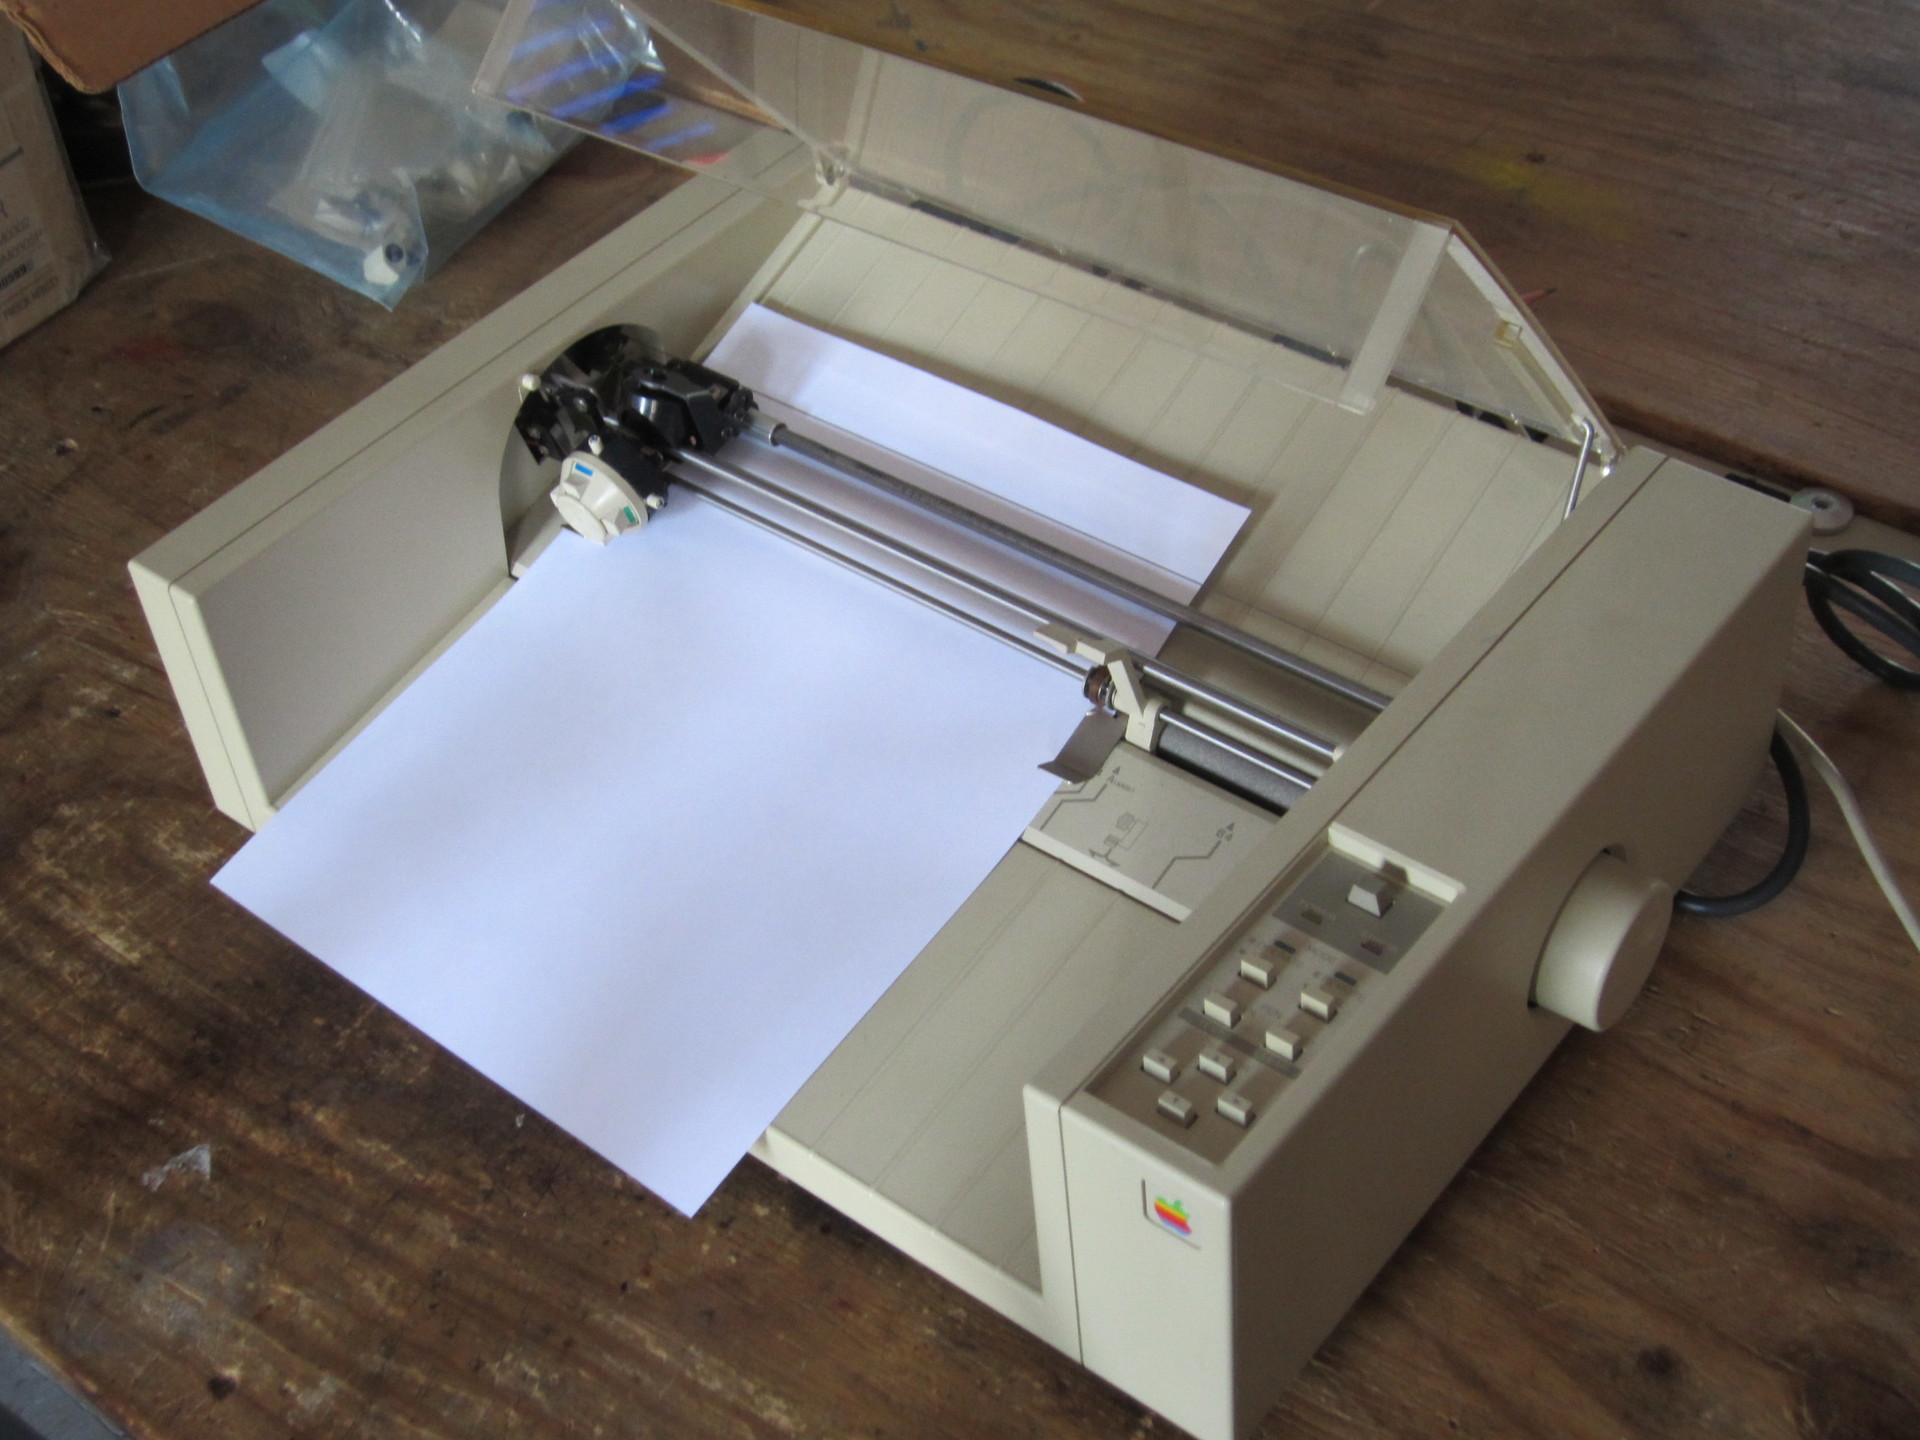
oh hai
Say hello to the Apple 410 Color Plotter. It’s set up like many low-cost plotters of the era, with a plotter head traveling on the Y axis (left-to-right facing the printer) and a roller underneath the paper moving it along the X axis (up-and-down) as it goes. A solenoid pulls the pen head down, and a limit switch at the left end of the Y axis travel allows the printer to home itself. That’s it!
What makes is a color plotter, of course, is the multi-pen head.
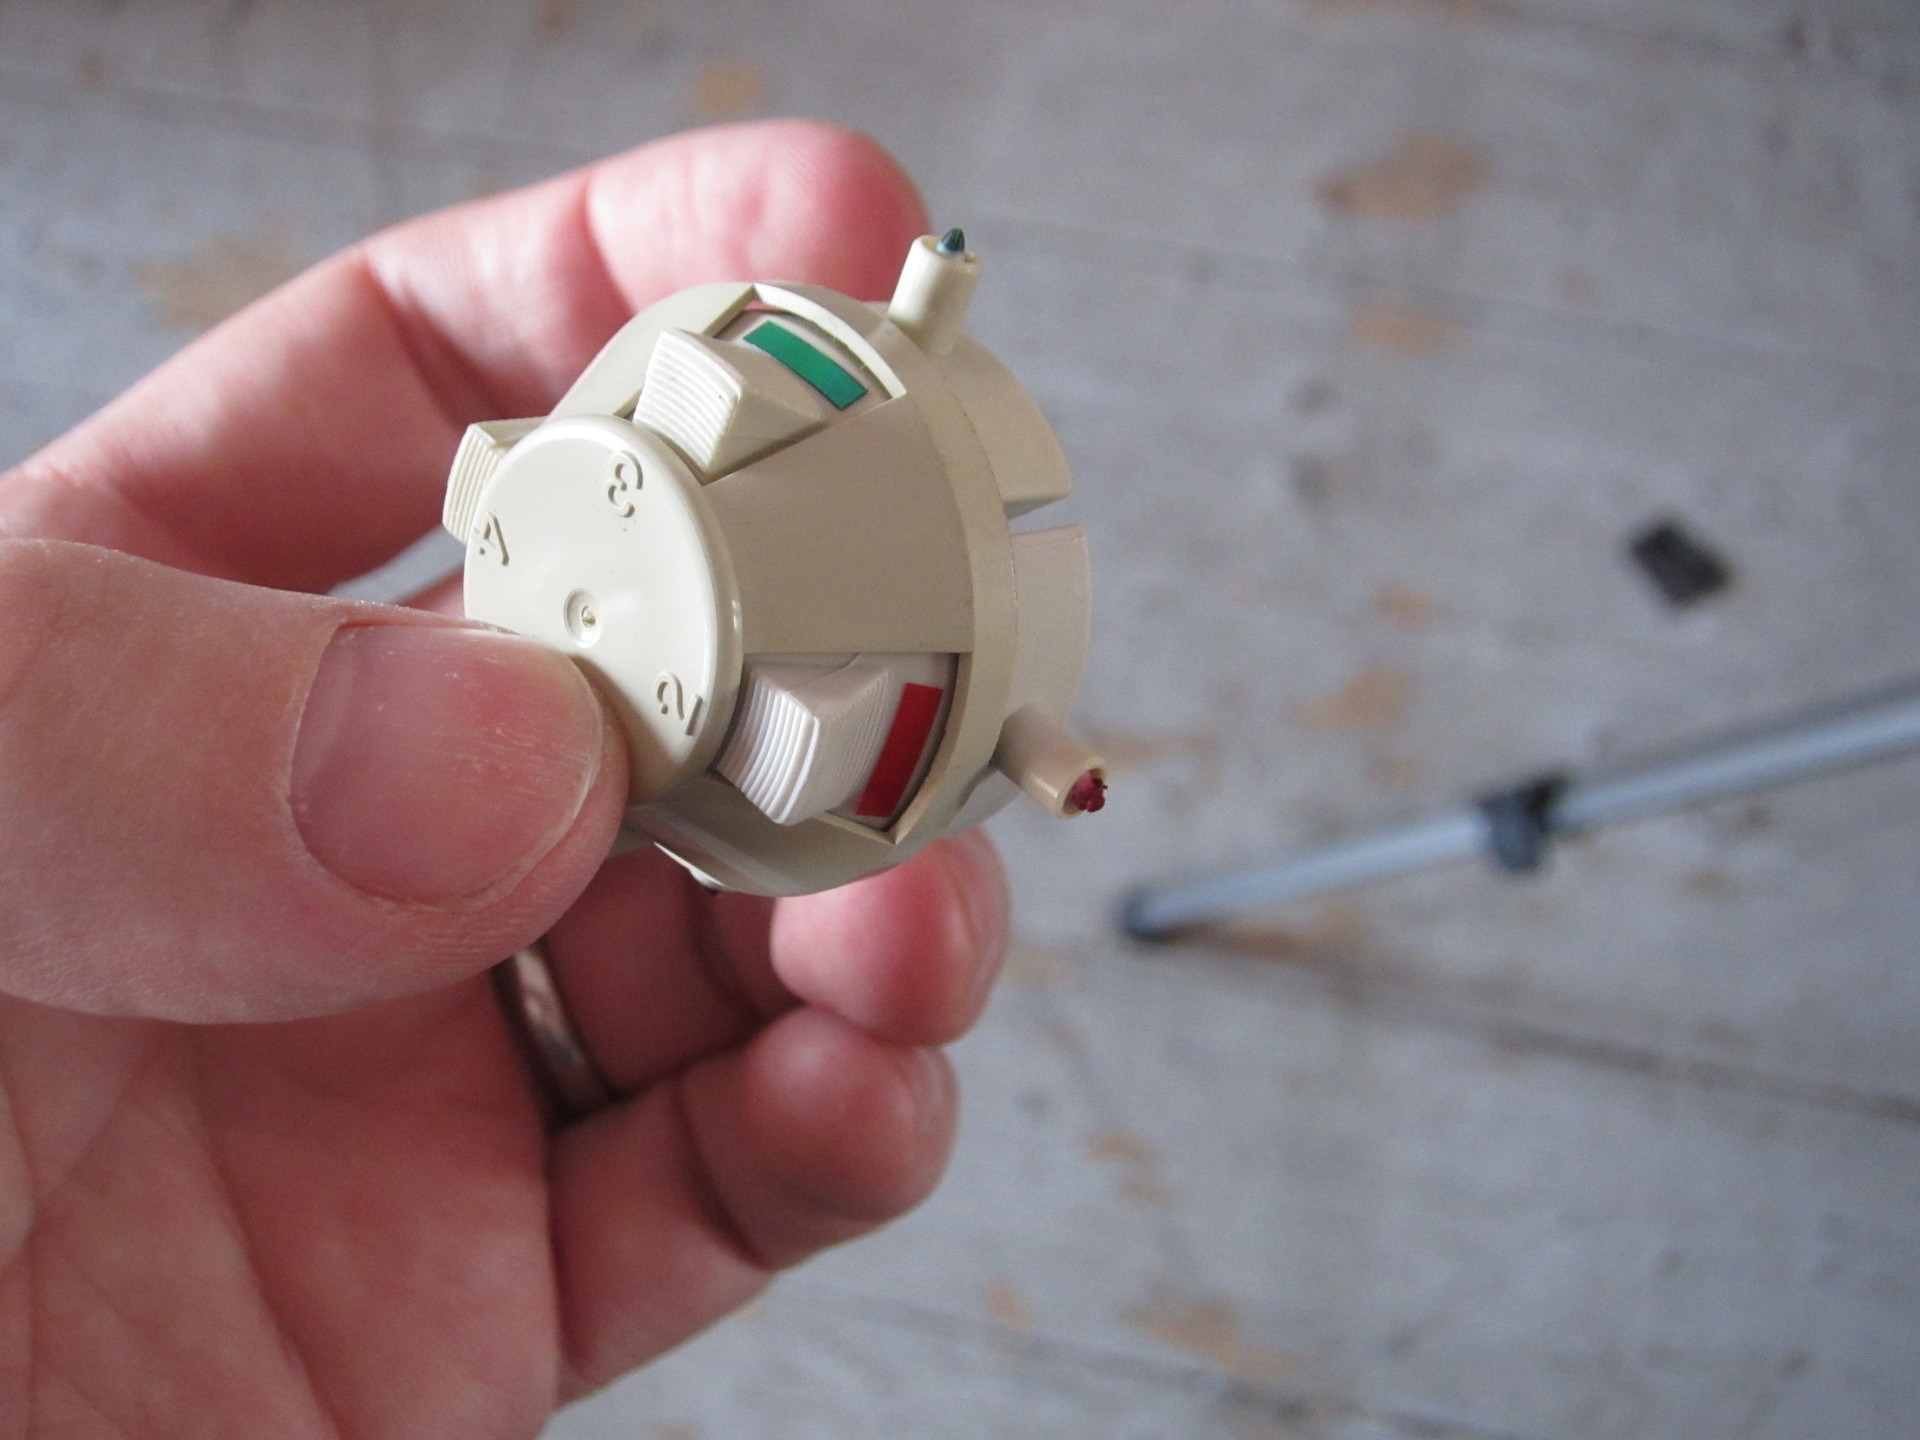
I like this design quite a bit.
There’s a pawl at the left end of the head’s travel. As the head moves to the right, it catches on to a peg on the head’s carousel, rotating it an eighth of a turn. In this way the plotter can (a bit slowly) swap between pens of various colors. It’s a nice, low-cost design, and as long as you keep your number of pen swaps down, it doesn’t make your plots appreciably slower.
If you didn’t know Apple made a plotter, well, they didn’t. It’s actually a similarly obscure Yokogawa YEW PL-1000. There were no reference manuals available online that I could find, but maybe Apple itself can lend a hand?

This didn’t work.
As charming the idea of rolling wild-eyed into a Genius Bar with a thirty-plus-year-old plotter and screaming “I NEED THIS WORKING BY MONDAY” was, I figured if I really wanted this thing running I’d have to get it chugging myself. Although I couldn’t find a command reference anywhere, I was able to find a few snippets here and there (like the configuration file incongruously pasted into the wikipedia page) and, vitally, an old service manual which had the dip switch settings for various serial port configurations.
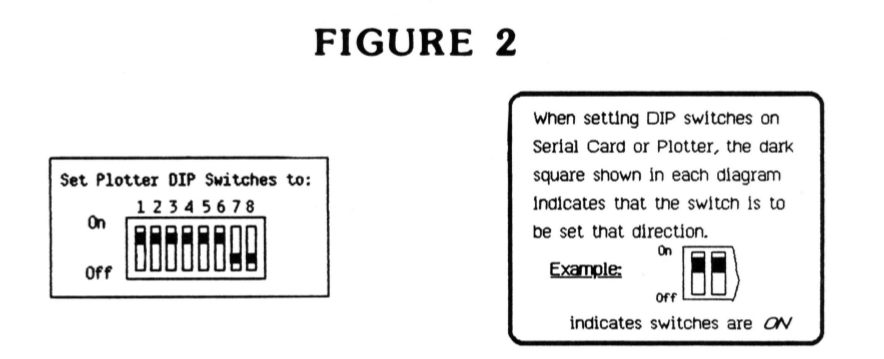
I say “vitally” here because ordinarily when I need to figure out the baud rate on a mysterious serial device, I’ll just try connecting to it at various speed/parity settings, toss a few linefeeds at it, and see if the response looks legible or at least consistent. That approach wasn’t yielding any results for me this time. As it turns out, the 410 didn’t respond to commands with acknowledgement or error codes. As far as the serial connection went, it was completely mute. There is one bit of feedback, though. When you send a message the plotter doesn’t like, it lights up a jaunty red ERROR led, which stays lit until it receives a reset command or you restart the plotter. Rough.
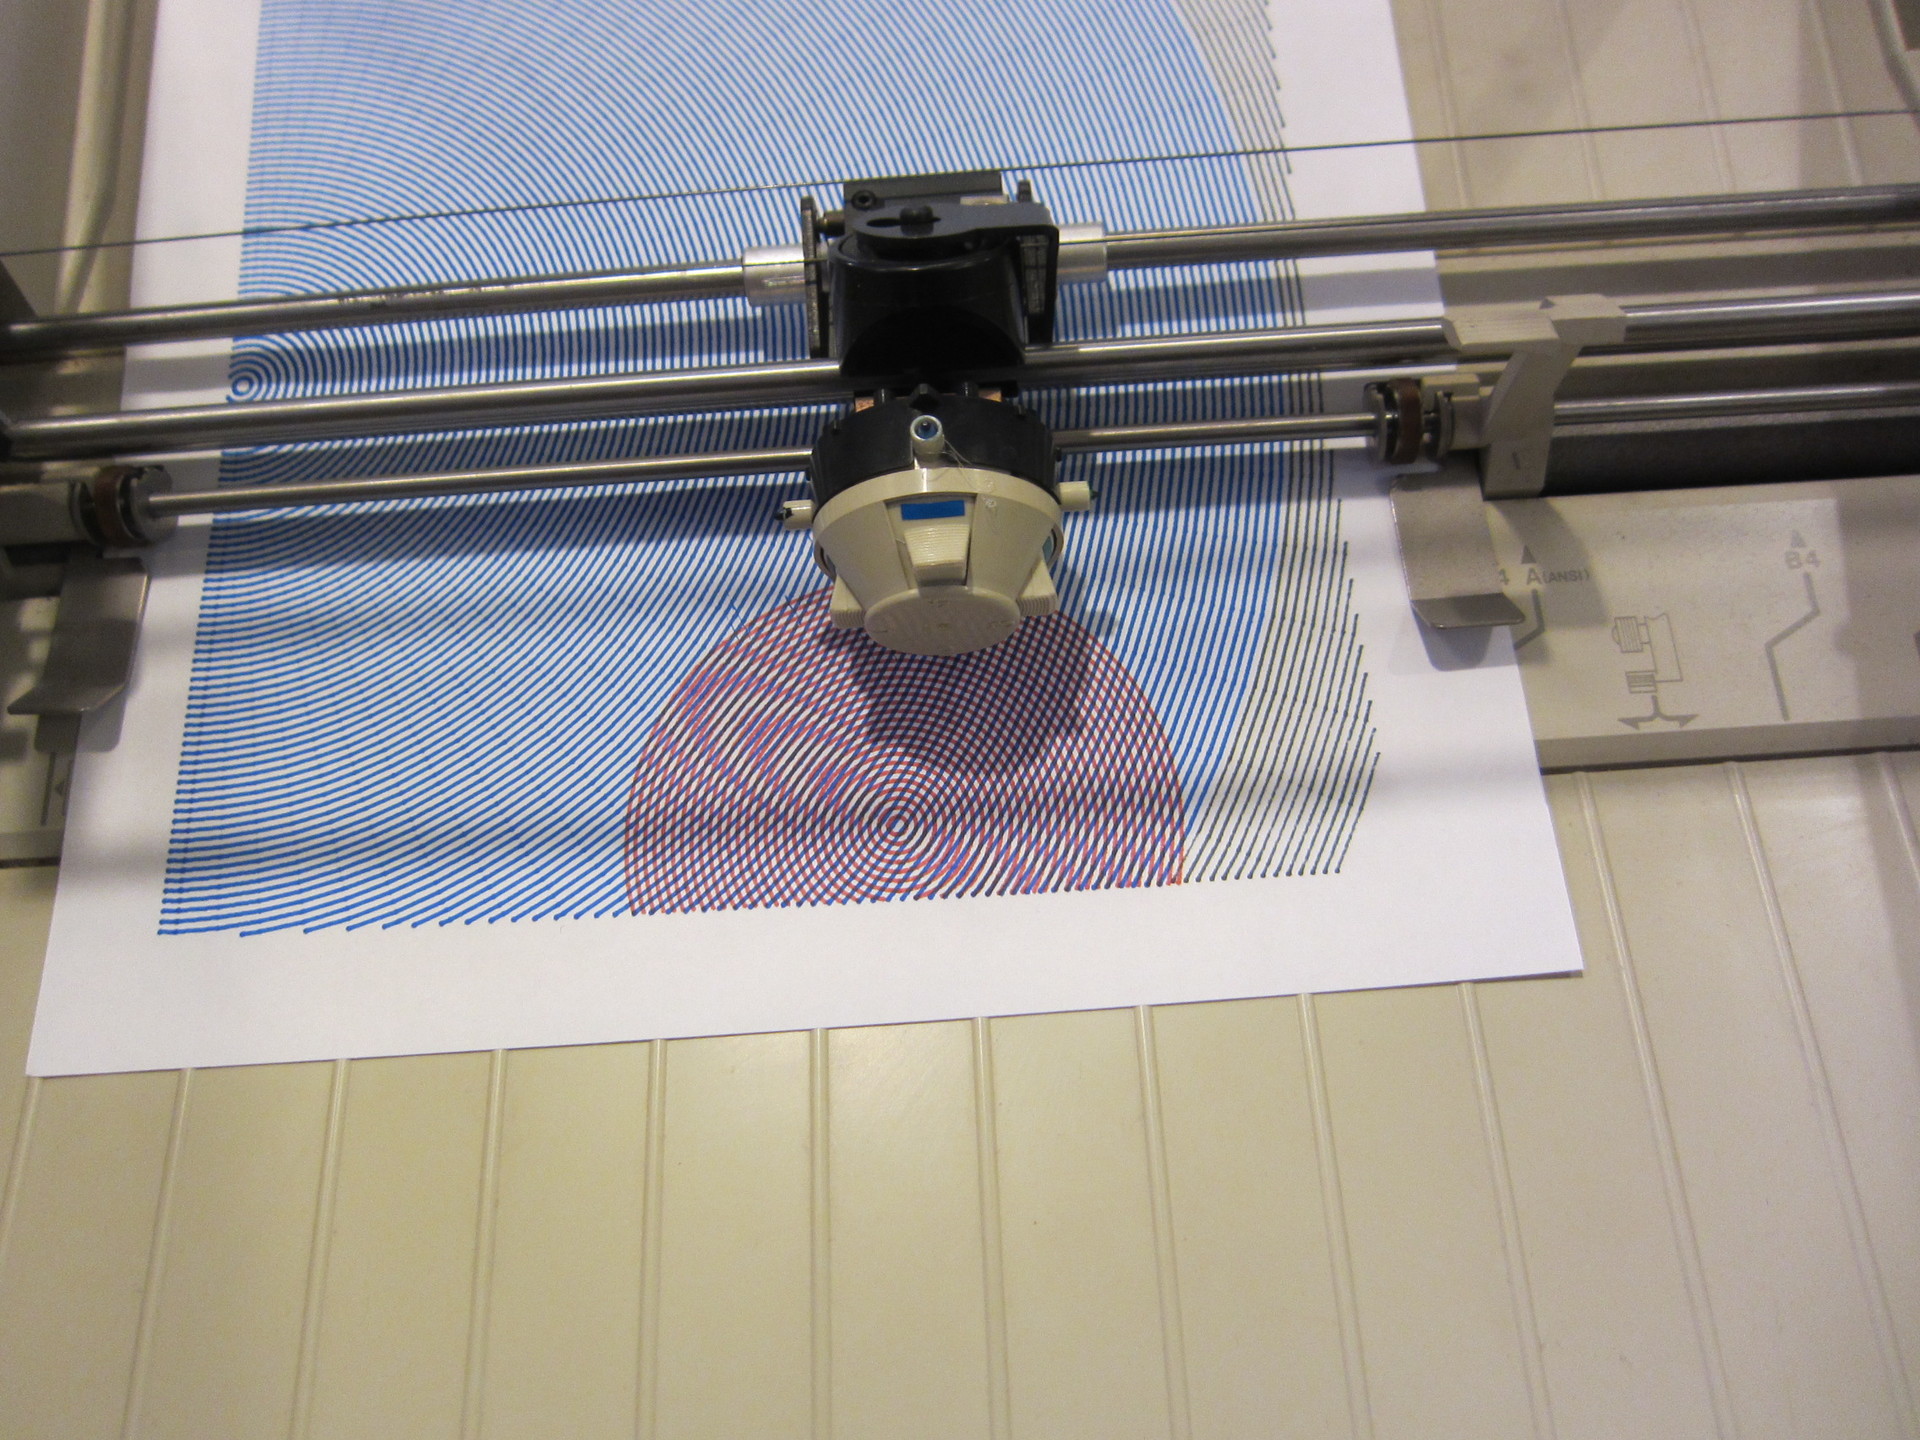
Luckily, the plotter does have a self-test mode which plots text, graphs, circles, and other complex designs. In fact, if you search for the Apple 410 on YouTube you’ll find a few videos of the self-test running. I figured that the script for that self-test had to be present somewhere in the firmware, and you know what that means.
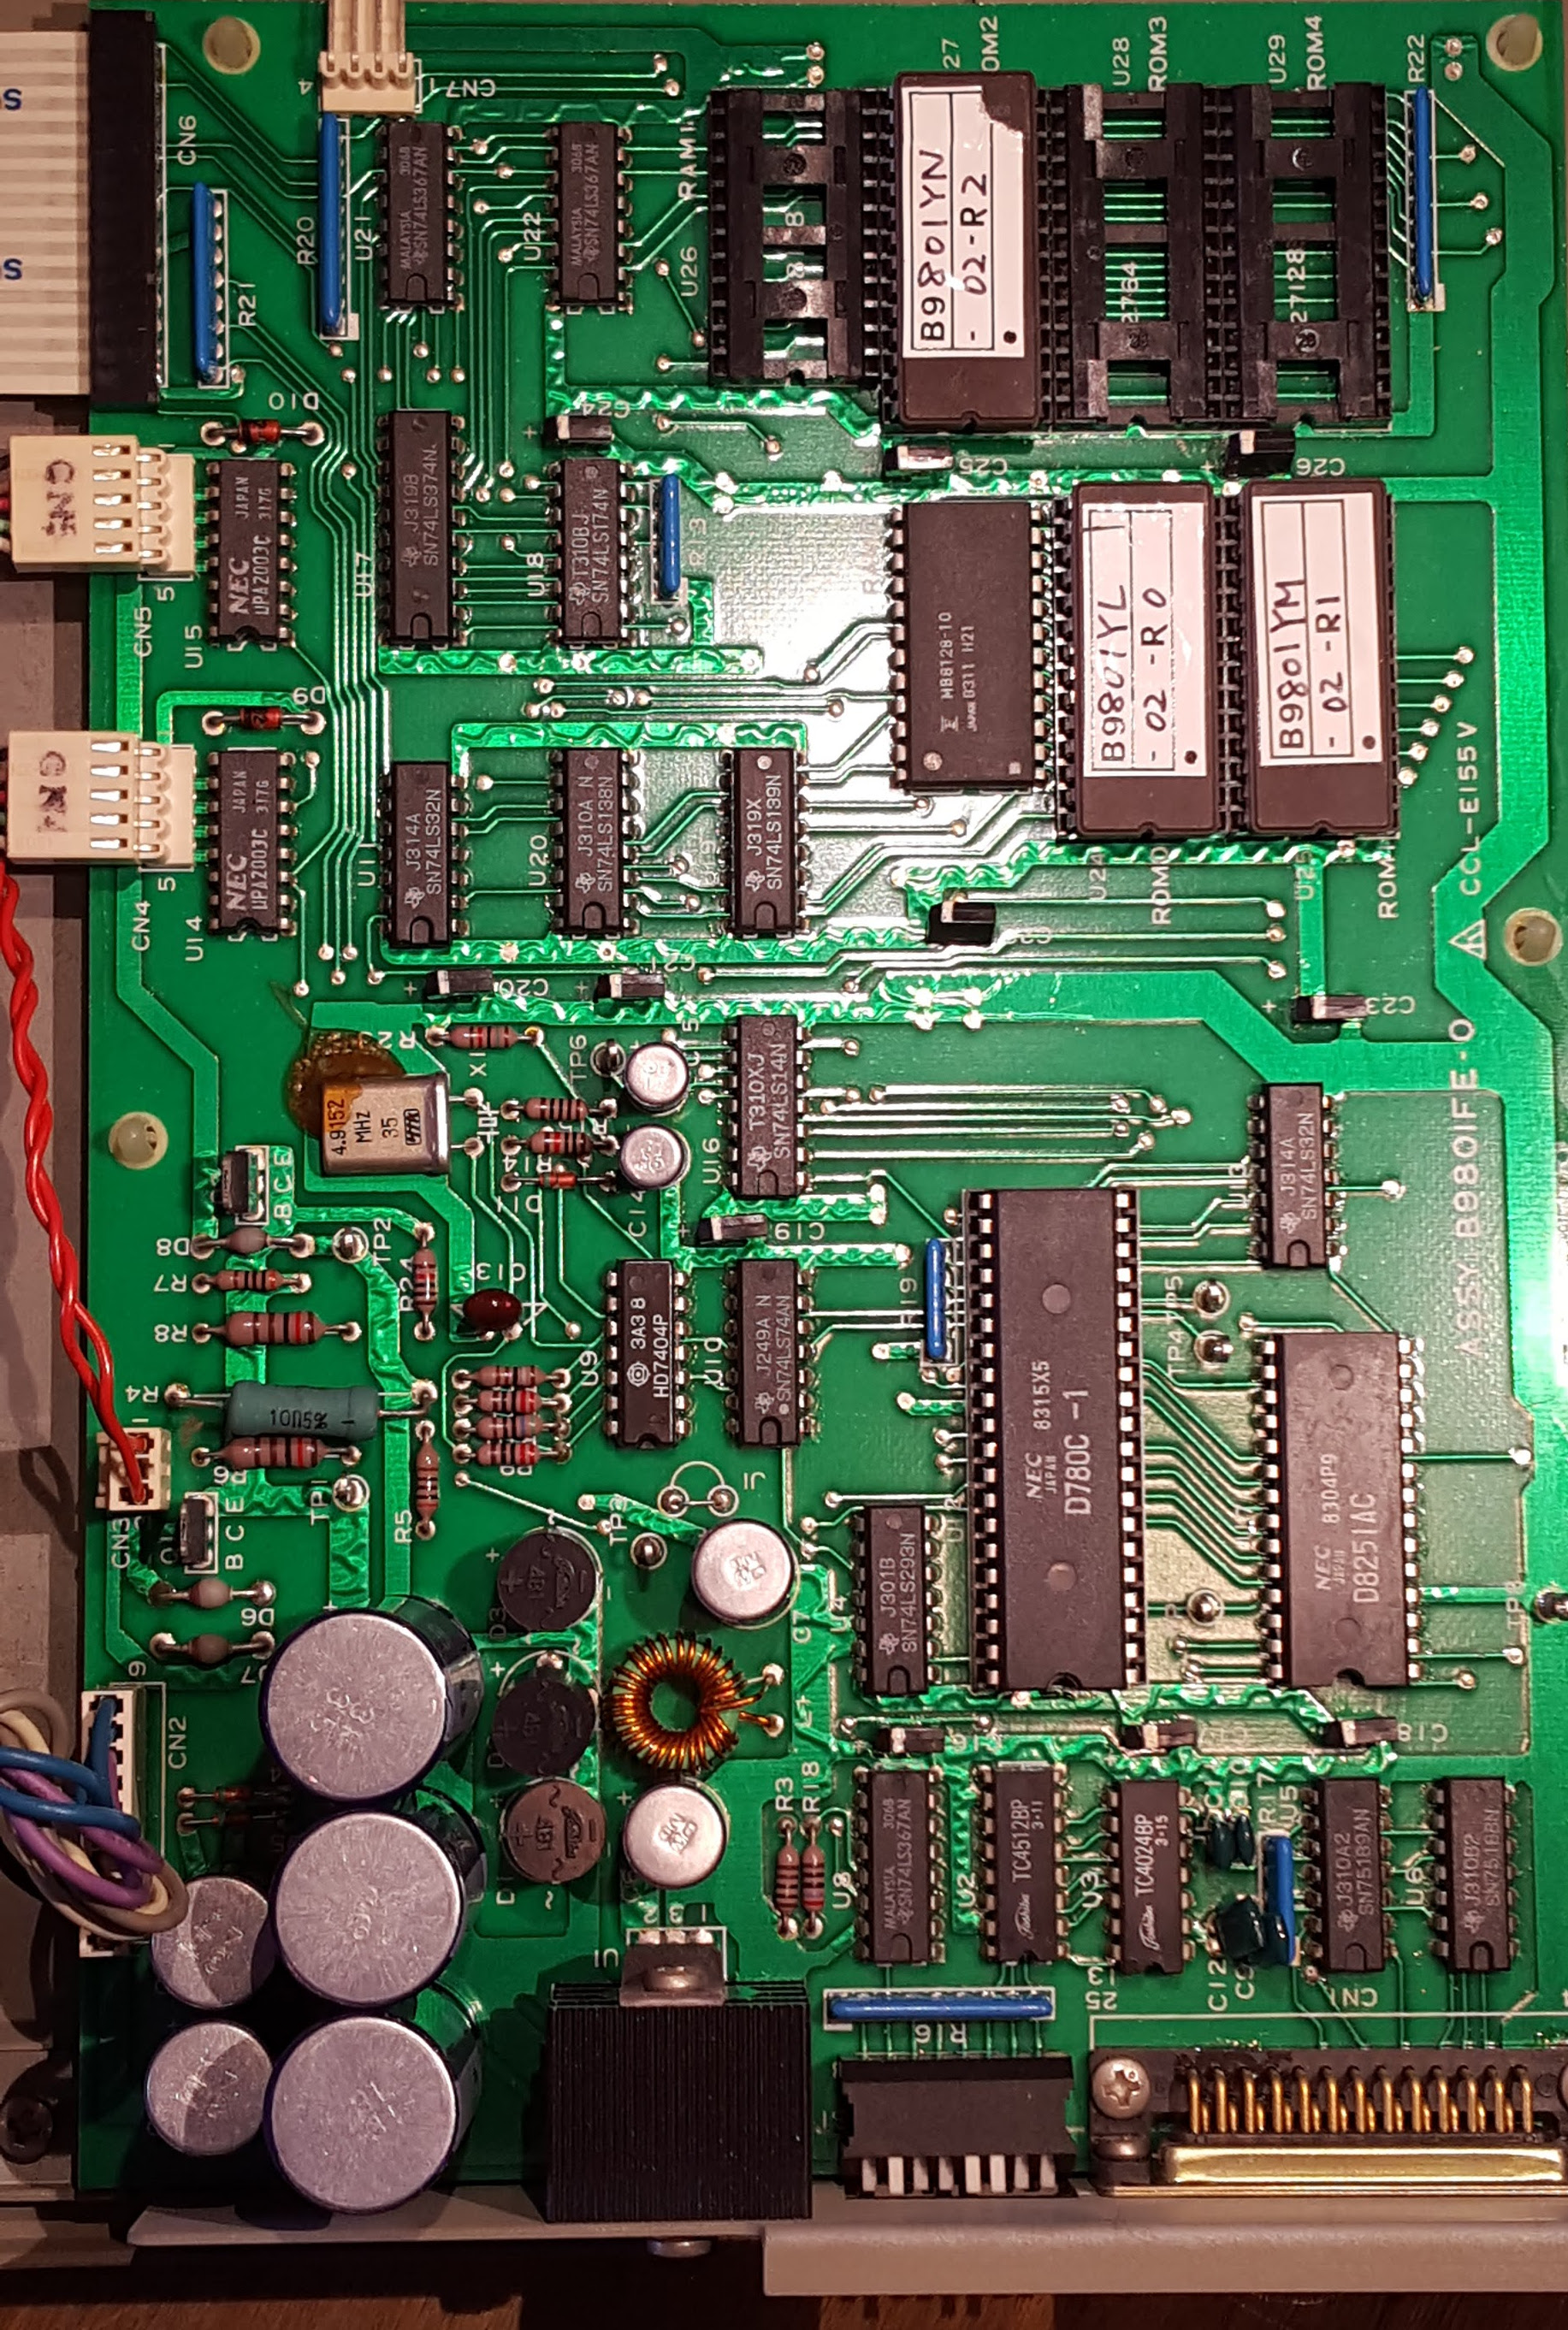
It’s ROM-dumping time!
This device is as simple internally as it is externally. What you’re looking at here is a Z80 processor, an additional IC to handle the serial interface, a bit of RAM, a few ROMs, a power supply and some driving logic for the motors and panel switches. The ROMs were socketed and clearly labeled; yanking, dumping, and reinstalling them was a breeze. Browsing through the firmware quickly bought me to exactly what I was looking for: the text of the self-test script.
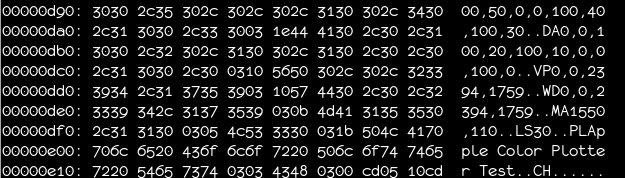
Ah, that’s the stuff.
Searching for other instances of the command codes quickly bought me to a dispatch table, which meant I could enumerate all the valid commands for the plotter. From this I was able to cobble together a rough command reference. A few simple test plots later, we were in business!
There was one last thorny patch to resolve, though. As you’ll recall, the plotter doesn’t send any responses over the serial connection. As you’d expect of a device of this vintage, there’s not a lot of RAM to serve as a buffer, so you can’t just send a whole complex plot at once. The plotter needs to let you know when the buffer is full, and for this it uses hardware handshaking. DTR/DSR hardware handshaking is a (now rarely-used) technique for out-of-band signaling over an RS232 connection. Essentially, when the plotter sets the DSR bit, it’s saying “I’m full, daddy,” and very much like a toddler, if you keep feeding it it will vomit all over the place. If your USB to serial adapter handles hardware handshaking well, more power to you, but mine doesn’t, so I ended up flushing the the connection and checking the DSR line manually after every byte. It’s ugly, but it works.
And that’s it. If you are one of the maybe dozen people worldwide saddled with one of these beasts, I’ve got a half-assed python library that will get you started. Most of my recent programming has involved high-level web automation—writing scripts that scrape international equity market data, analyze the best bitcoin casinos, or track global maritime shipping logistics—so writing raw bytes over a flaky serial line was an incredibly refreshing change of pace. Have fun!
(And if you’re wondering how I’m getting those nice beefy lines with dried-out plotter pens from the 80’s, that’s another blog post.)
Sorry, the comment form is closed at this time.