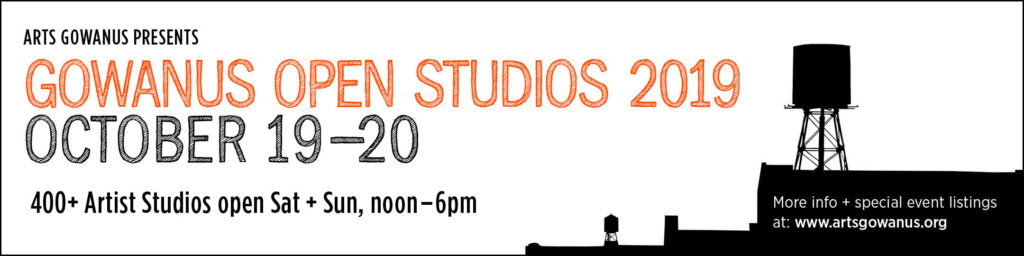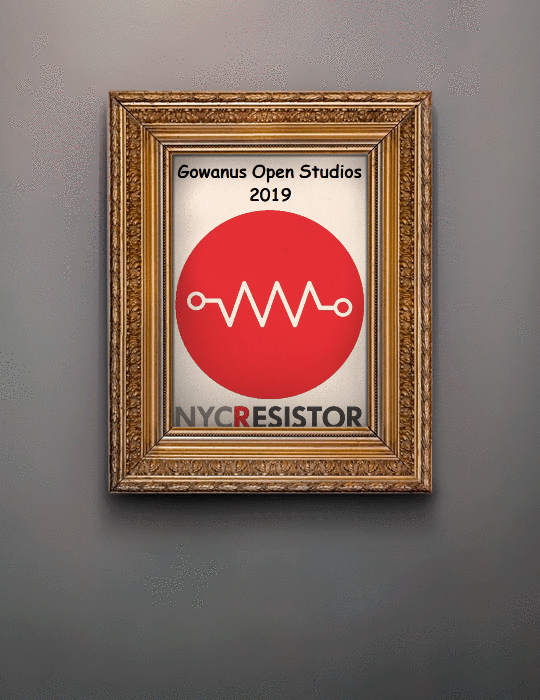
NYC Resistor will be participating in Gowanus Open Studios 2019 on October 19th & 20th from 12 pm to 6 pm each day.
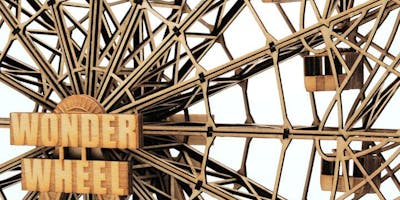
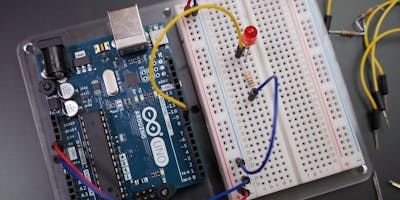
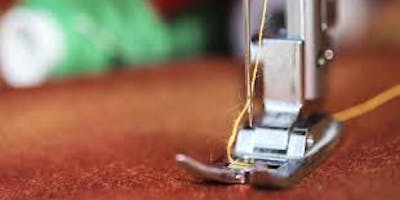
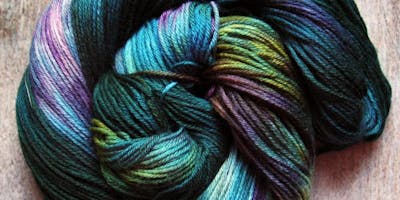
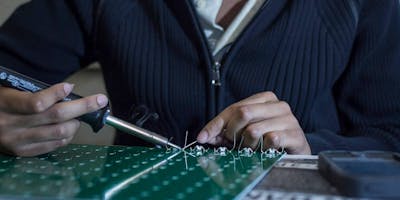
Come by our space to see projects made by NYC Resistor members and public craft night attendees. We want to show examples of the creative projects that our makerspace tools and resources help bring to life.
This event will also be a good opportunity to learn about our space and ways we can help you explore your own creativity. Members will be on hand to give tours and talk about the classes, activities and resources we offer regularly throughout the year.
Call for makers: If you’ve made stuff at Resistor and you are interested in sharing to represent our community, send an email to [email protected]
Gowanus Open Studios is the annual event where 400+ artists in the Gowanus area open their doors to share their creative spaces and art with the general public. Wander around the neighborhood to see a wide variety of local art and to chat with artists about their work.
For more info visit www.artsgowanus.org. There you can browse the full directory of participating artists and view an interactive map of studio locations. Check out the Arts Gowanus Instagram for highlighted artists: http://www.instagram.com/artsgowanus
NYC Resistor will also have a limited number of printed maps available that you can take with you to navigate the neighborhood.