If you’ve ever been running at night in New York City, you know that it can be dangerous, especially if other people can’t see you. This jacket was my attempt to not get flattened by a bicycle at night. Of course, I could have just bought some plain running lights, but what fun is that? Not only does this jacket have seven awesome flashy modes, but each mode responds to my heart rate!
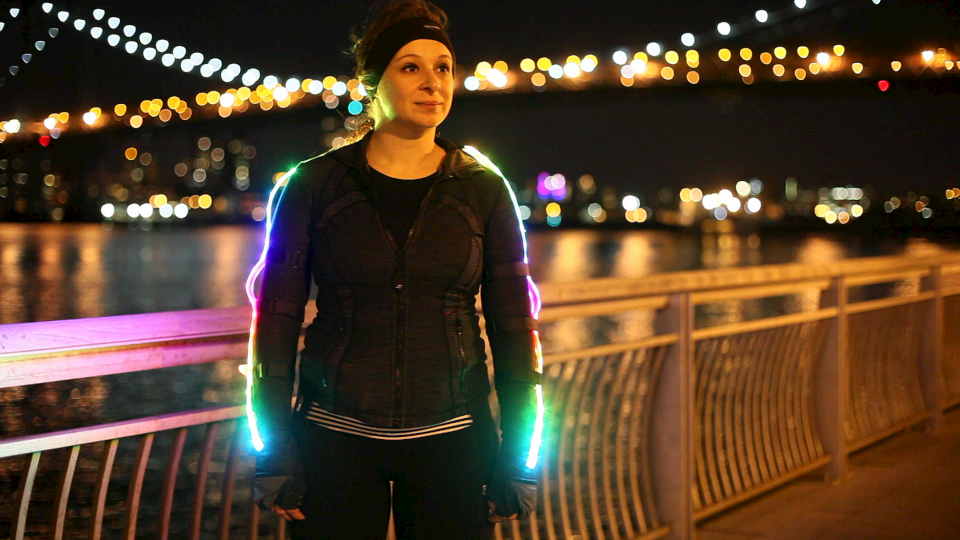
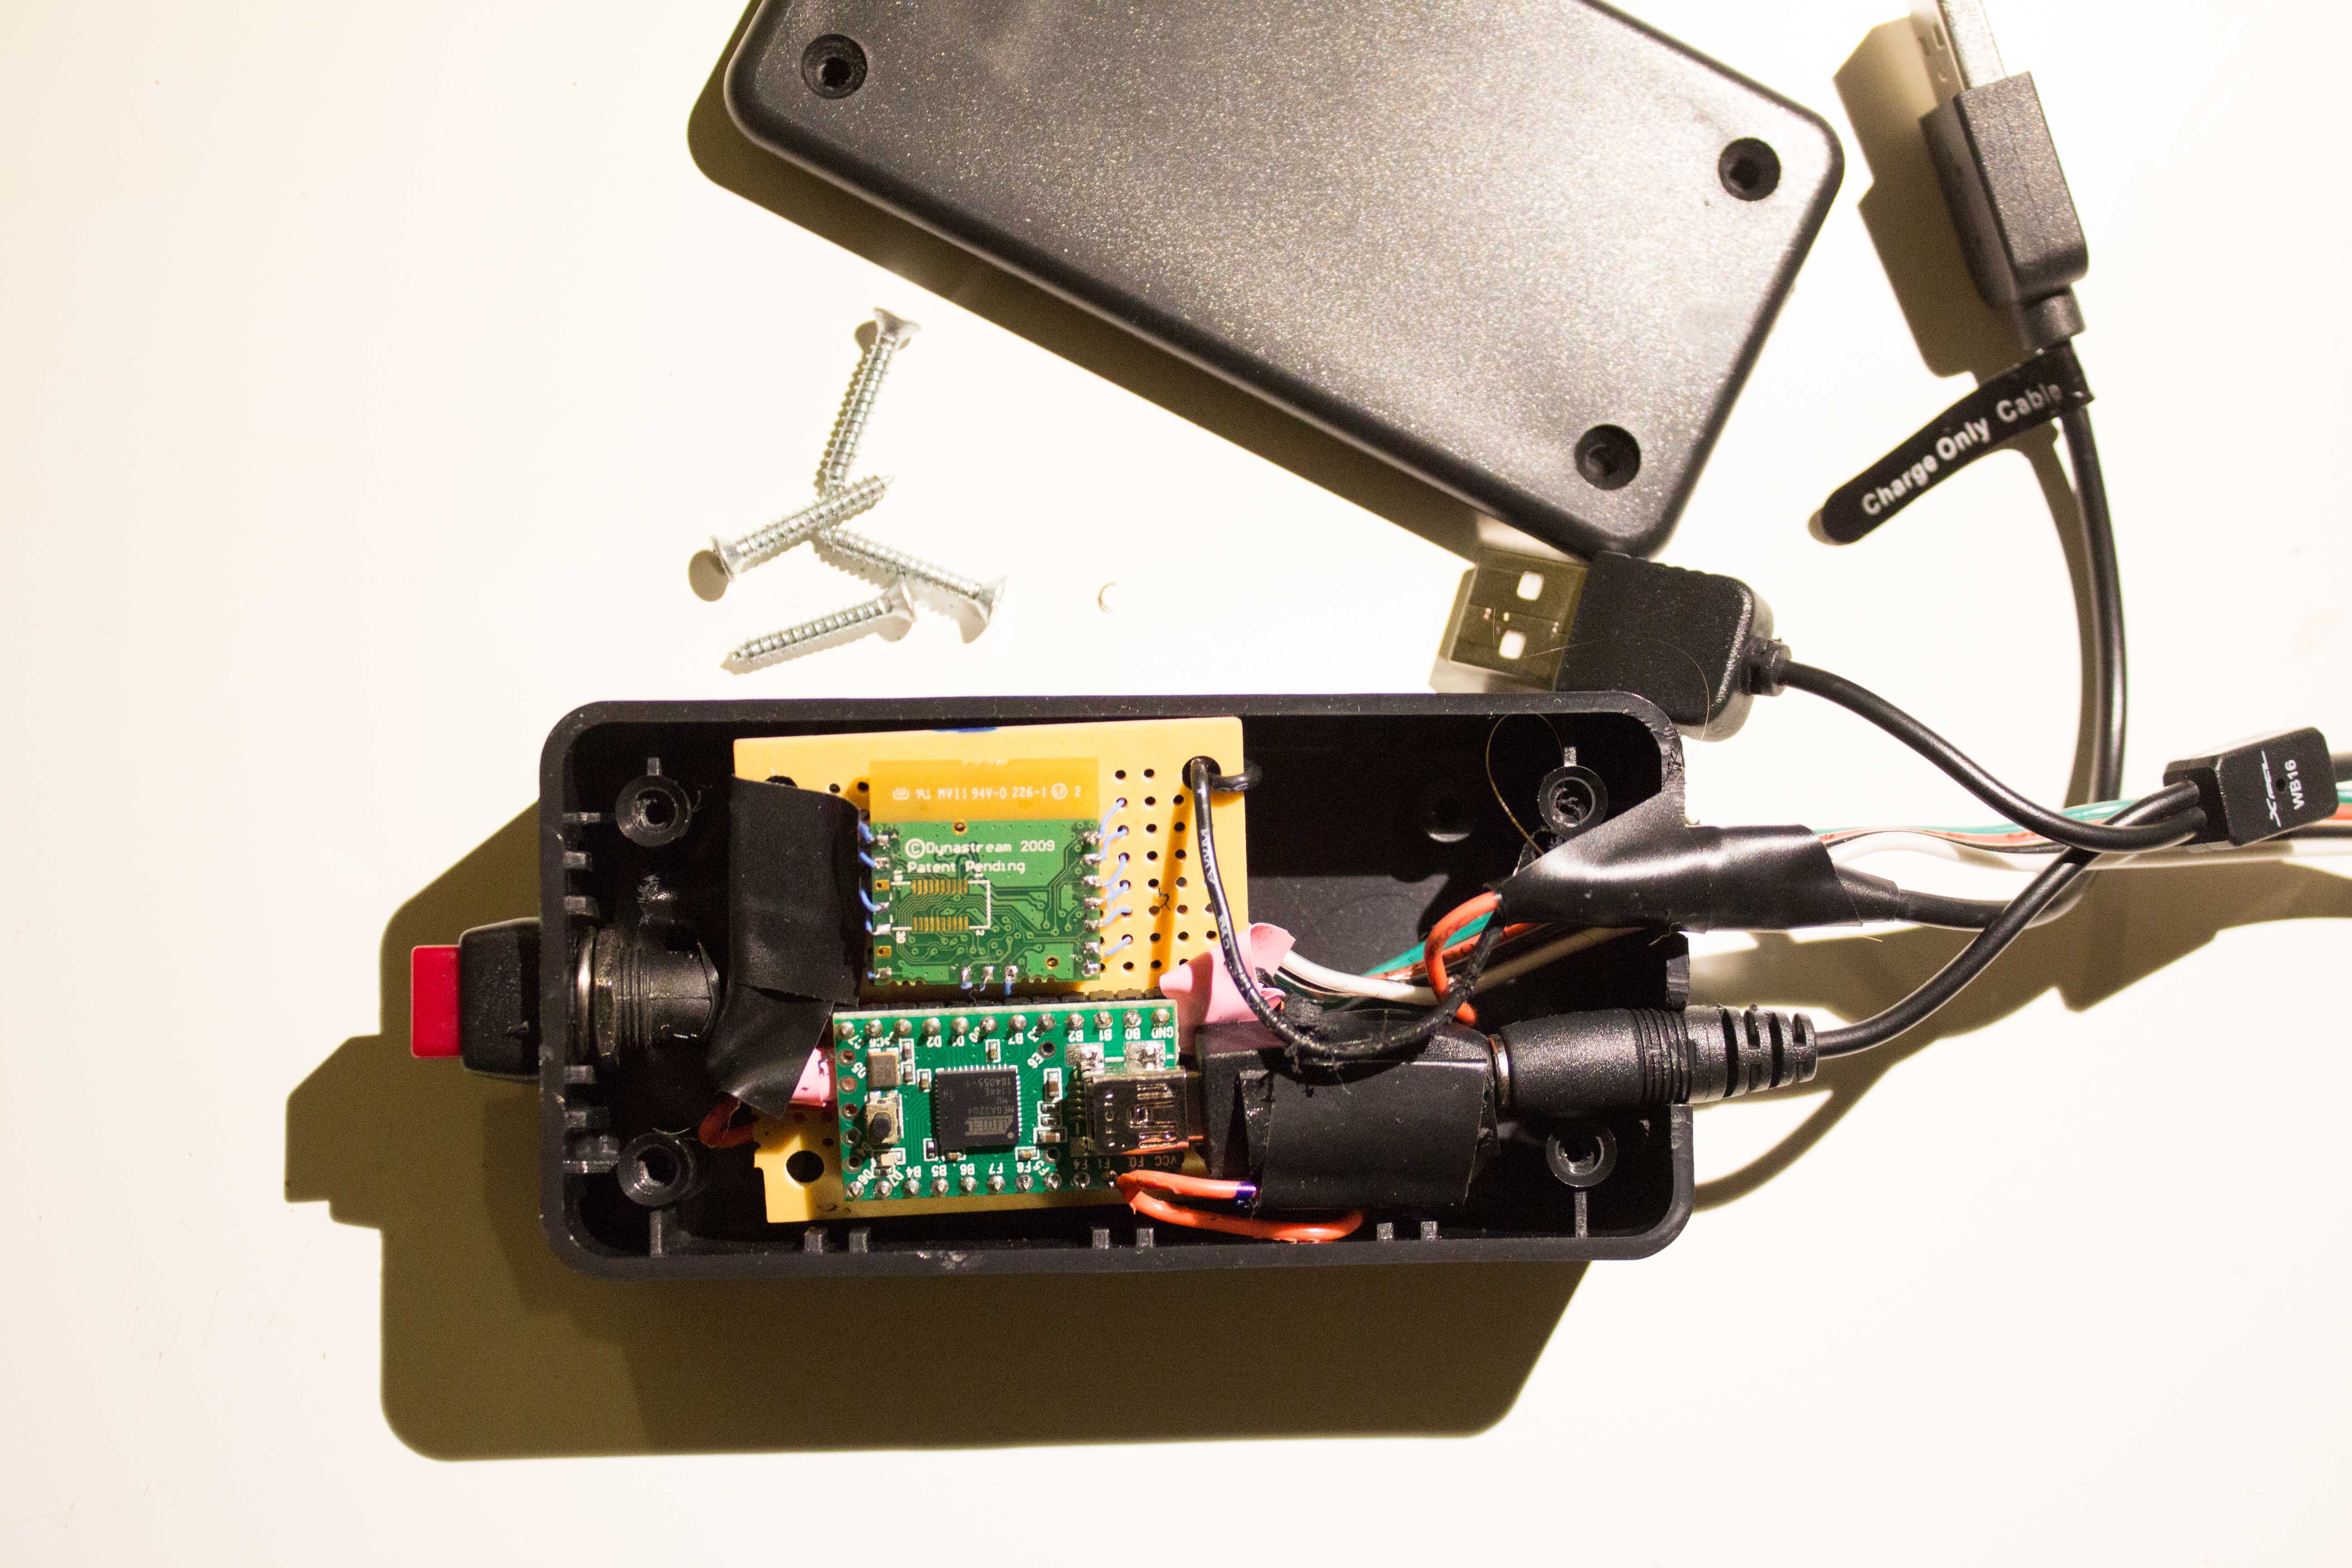
Since my Garmin heart rate monitor uses the ANT protocol, I could easily intercept the heart rate information for my jacket. I used a Teensy and an ANT transceiver to control two LED strips based on the current mode selection and the current heart rate. The jacket is powered by rechargeable battery packs.
My first run with the jacket was the 2013 New Year’s Eve midnight run in Central Park. Since then, I’ve worn it to a few races and even to a tech talk. The full build out details can be found here.